CHAPTER 11
Zone Marking Systems 1-20
Ten traders draw ten different zones on the same chart. These 20 systems teach you which zone belongs to which timeframe, how to draw it exactly, and when it is dead.
Every zone must answer three questions: how to mark it, when it is valid, and when it is void. Without those three, a zone is just a coloured rectangle.
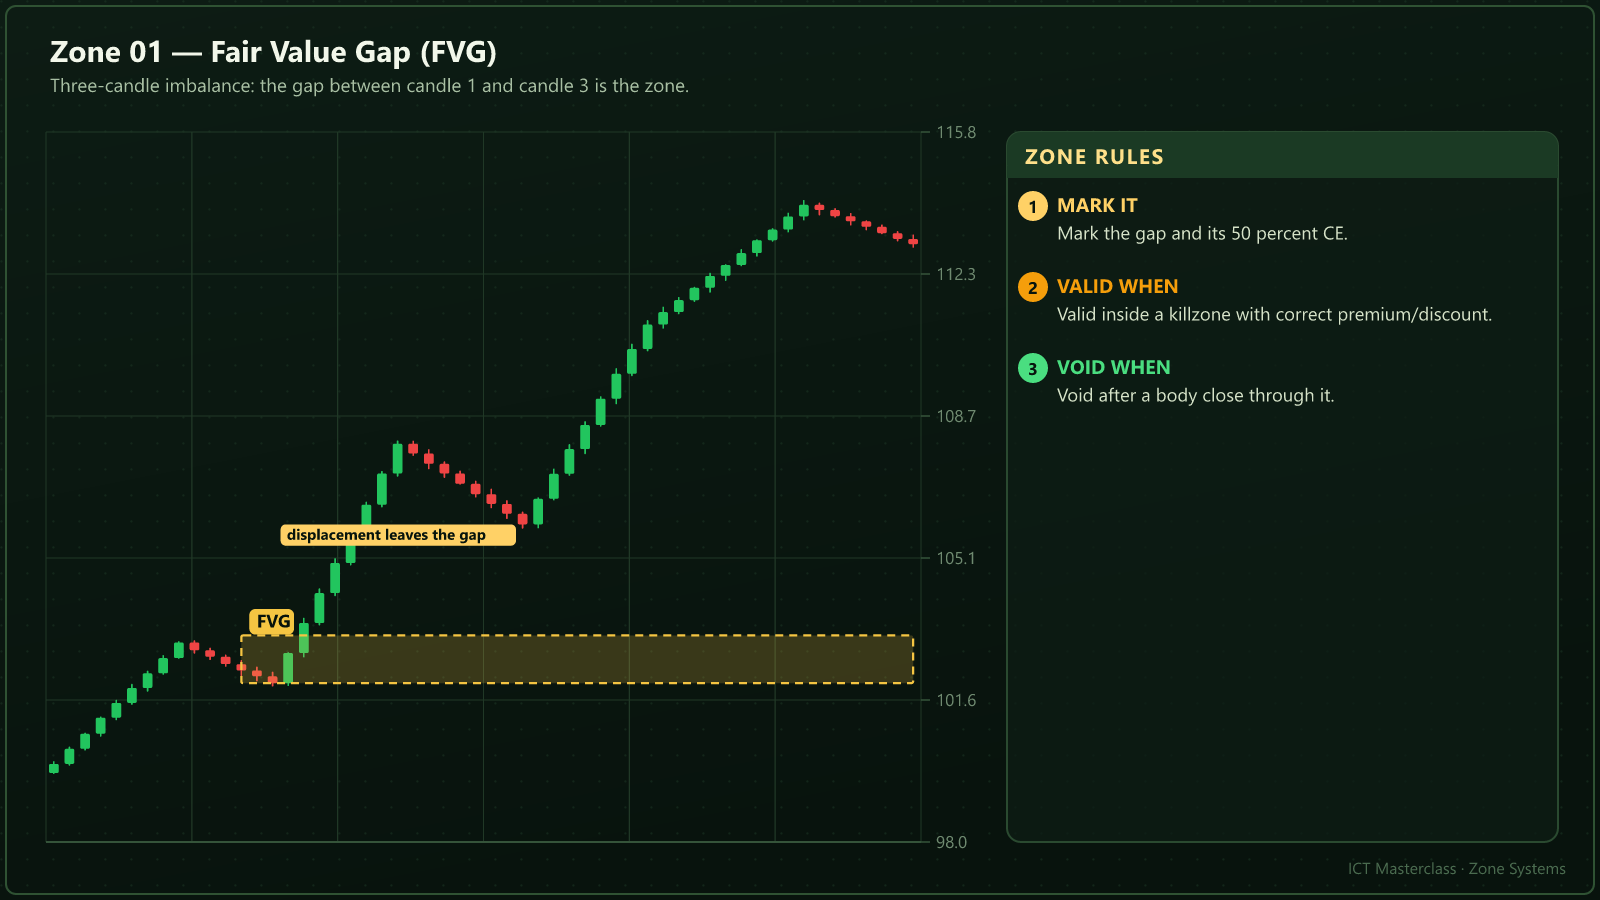
Fair Value Gap Zone
The three-candle gap is the most used zone in both SMC and ICT: easy to see, easy to define, tight stop.
| Topic | Rule |
|---|---|
How to mark it | Candle 1 high to candle 3 low for a bullish gap. |
When it is valid | Made in a killzone, in discount, with displacement. |
When it is void | A body close through the gap voids it. |
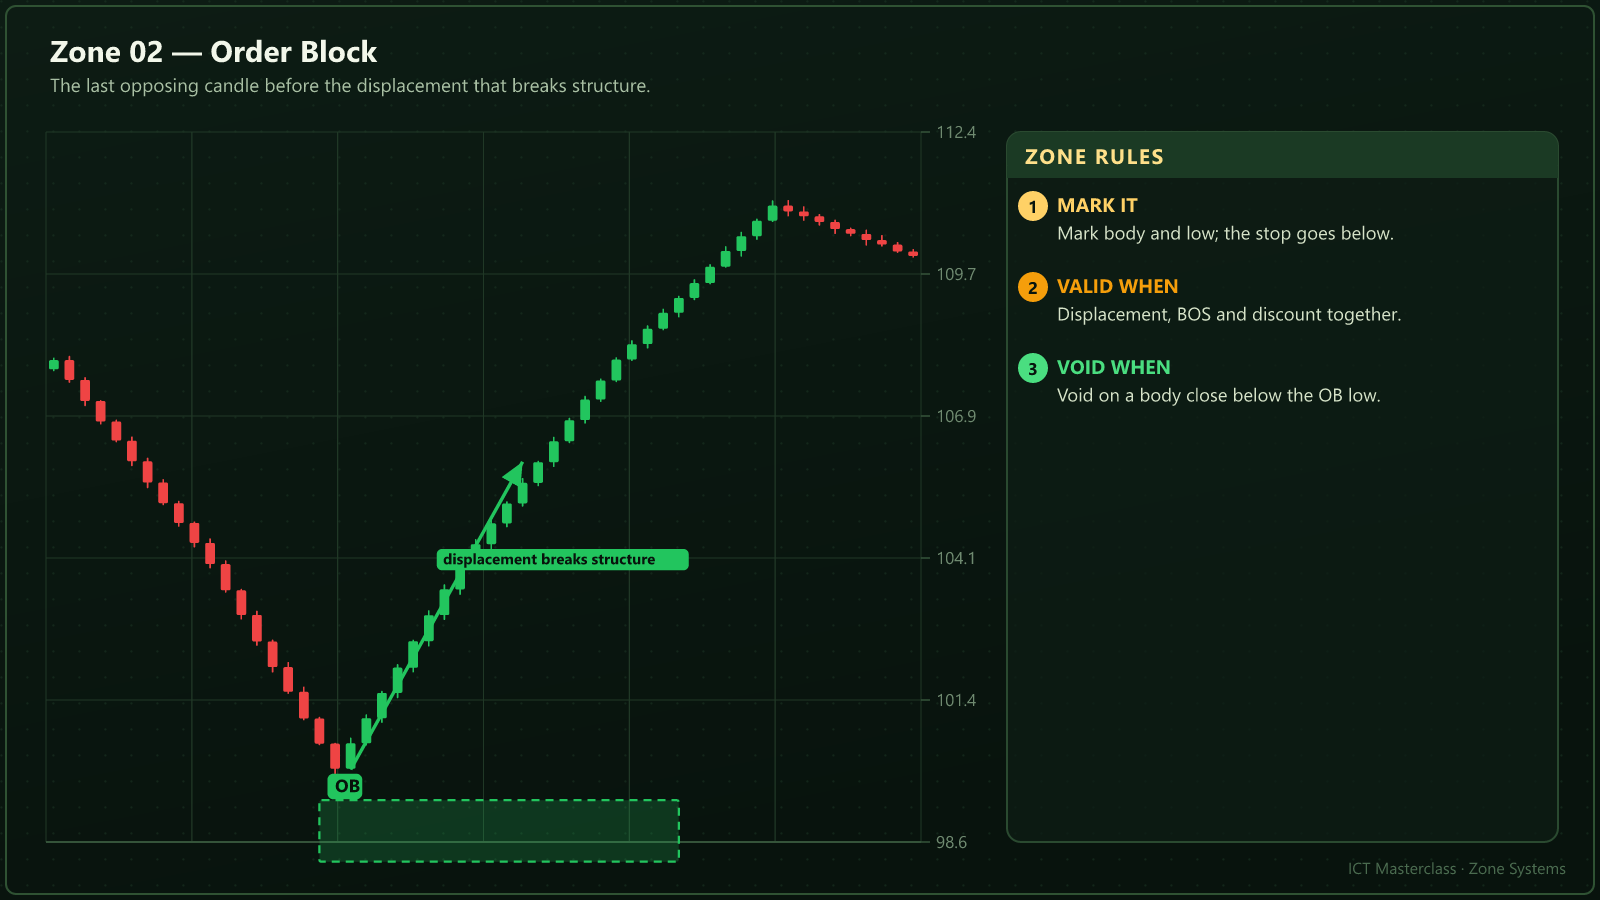
Order Block Zone
The last opposing candle before displacement is where the bulk order sat, so the reaction is strongest.
| Topic | Rule |
|---|---|
How to mark it | Body and low of the OB; the CE is the 50 percent. |
When it is valid | When an FVG sits inside or beside it. |
When it is void | A body close below the OB low. |
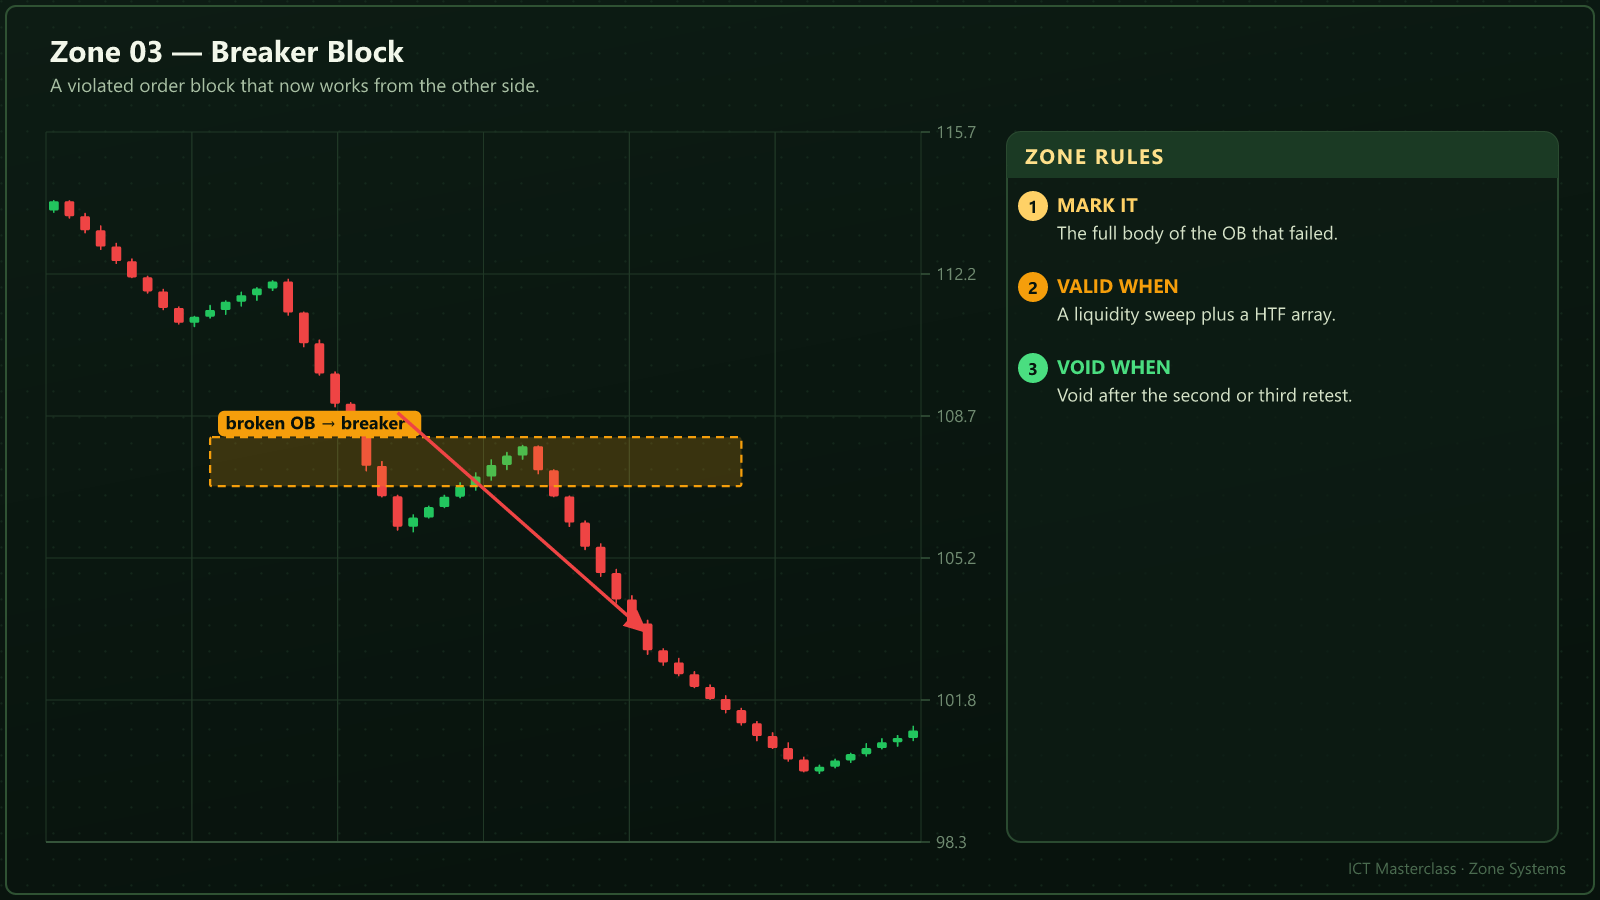
Breaker Zone
The stops of traders trapped in a failed OB fuel the next leg, which makes the retest of that zone reliable.
| Topic | Rule |
|---|---|
How to mark it | The full body of the OB that broke. |
When it is valid | With a liquidity sweep and a HTF array. |
When it is void | After more than two retests. |
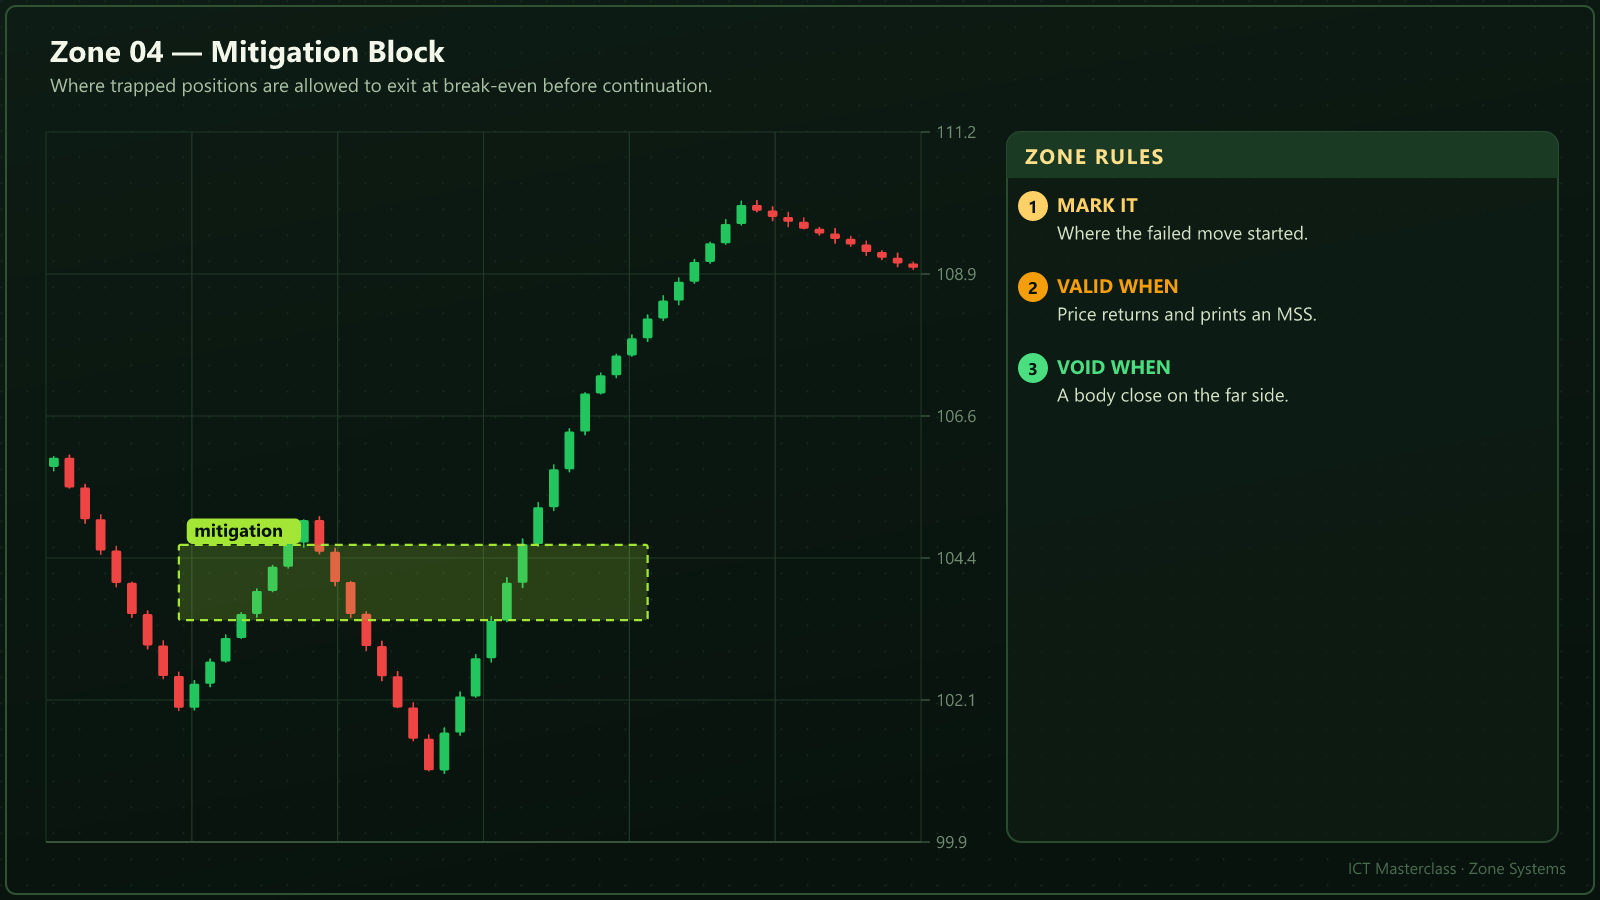
Mitigation Zone
Trapped orders want to exit at break-even, so price returns to the origin of the failed move to let them out.
| Topic | Rule |
|---|---|
How to mark it | Where the failed leg started. |
When it is valid | Price returns and prints an MSS. |
When it is void | A body close beyond the zone. |
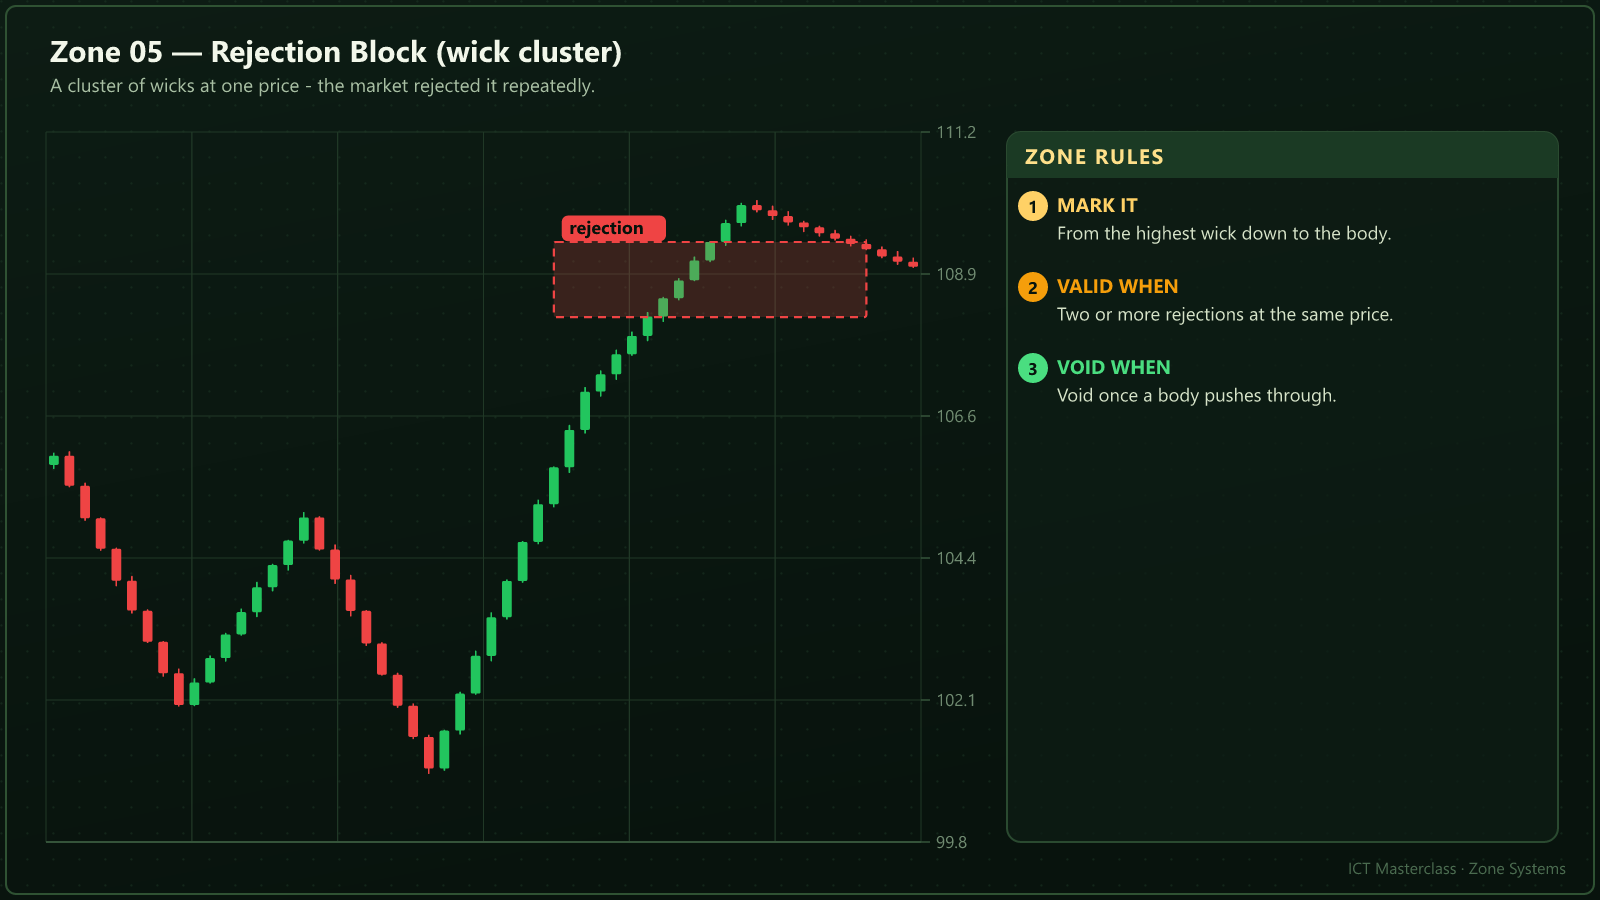
Rejection Block
Repeated rejection at one price means real sellers or buyers live there, and the wick is the zone.
| Topic | Rule |
|---|---|
How to mark it | From the highest wick to the body. |
When it is valid | Two or three rejections at the same price. |
When it is void | A body pushes through it. |
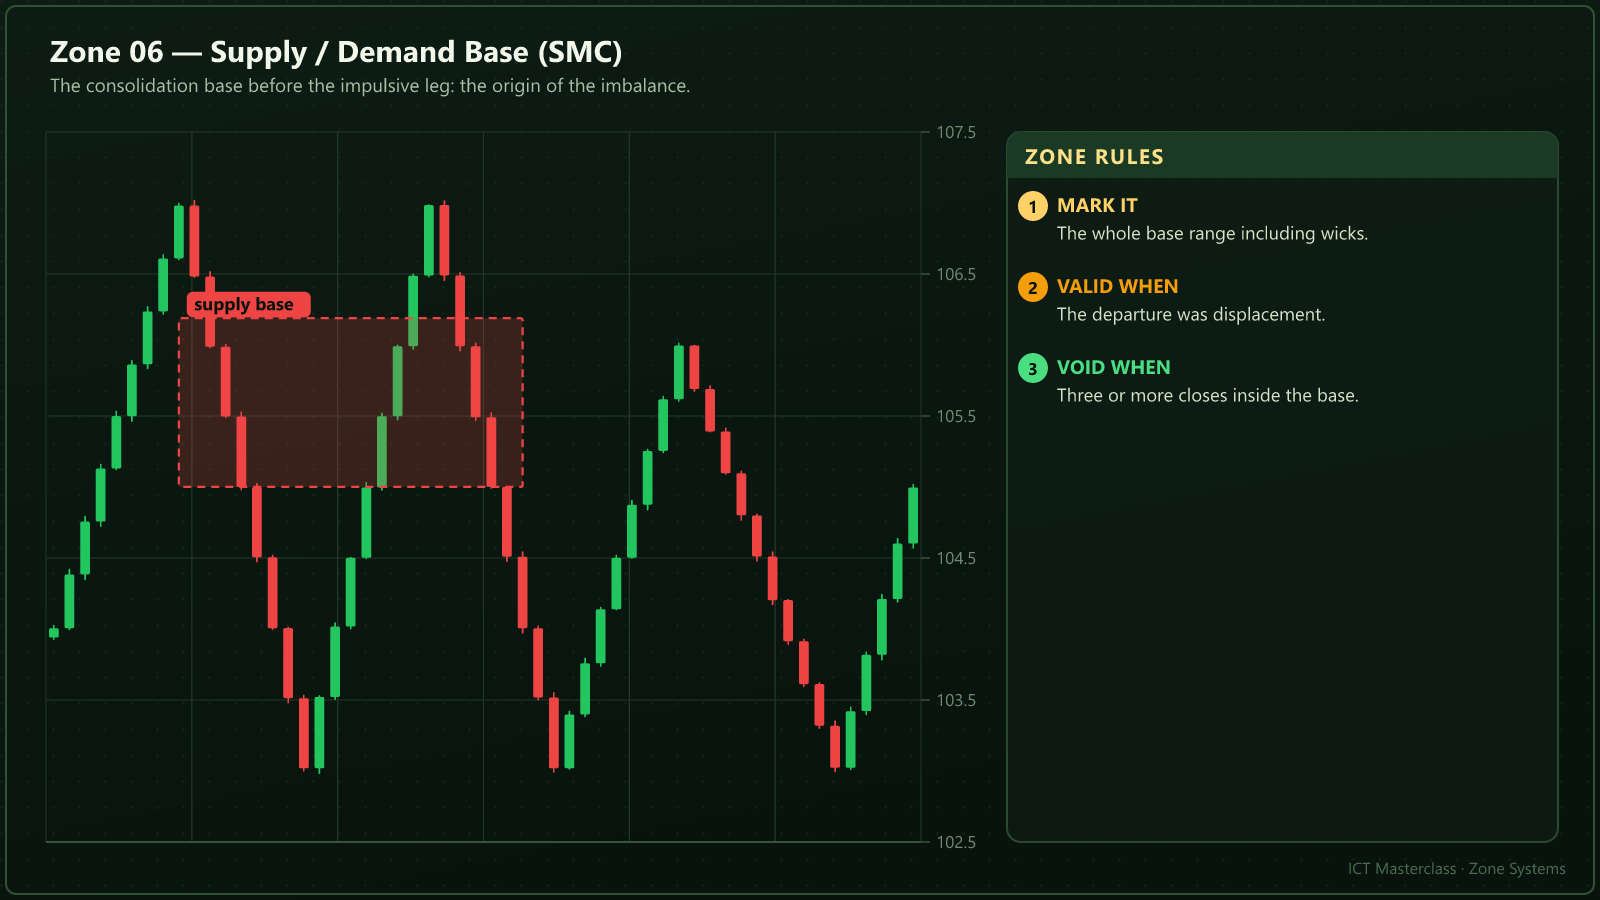
Supply and Demand Base
When price leaves a consolidation base impulsively, the base itself is usually the strongest zone.
| Topic | Rule |
|---|---|
How to mark it | The whole base range, wicks included. |
When it is valid | The exit was displacement. |
When it is void | Three closes inside the base. |
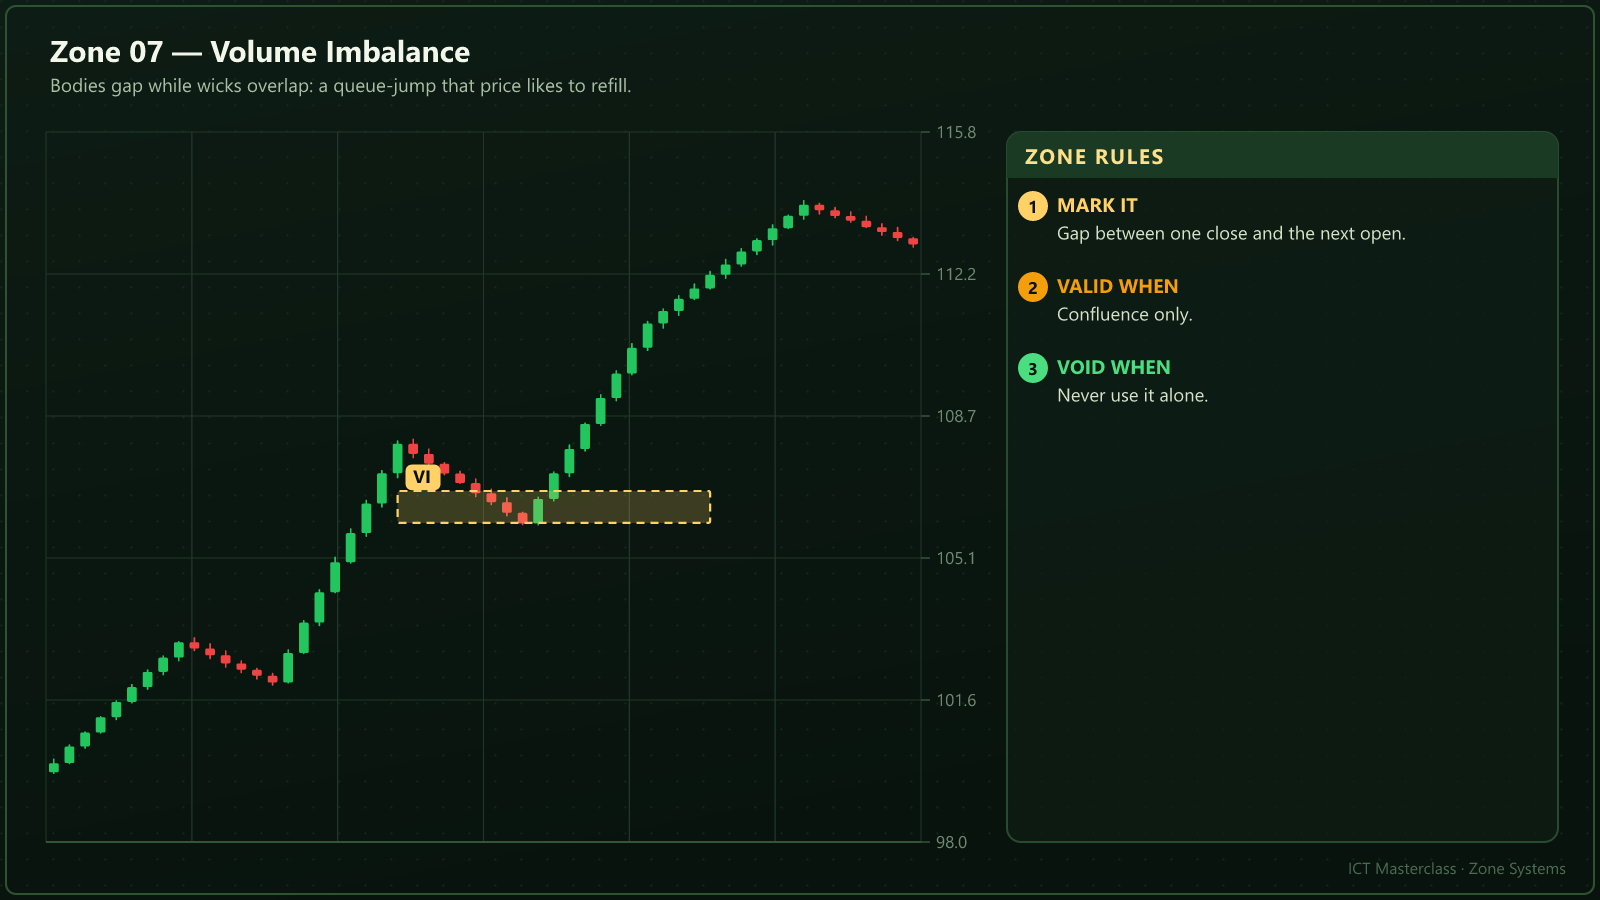
Volume Imbalance
The body gap is small but price often returns to it. Use it as confluence, never alone.
| Topic | Rule |
|---|---|
How to mark it | The gap between one close and the next open. |
When it is valid | Inside a bigger FVG or OB. |
When it is void | Never trade it on its own. |
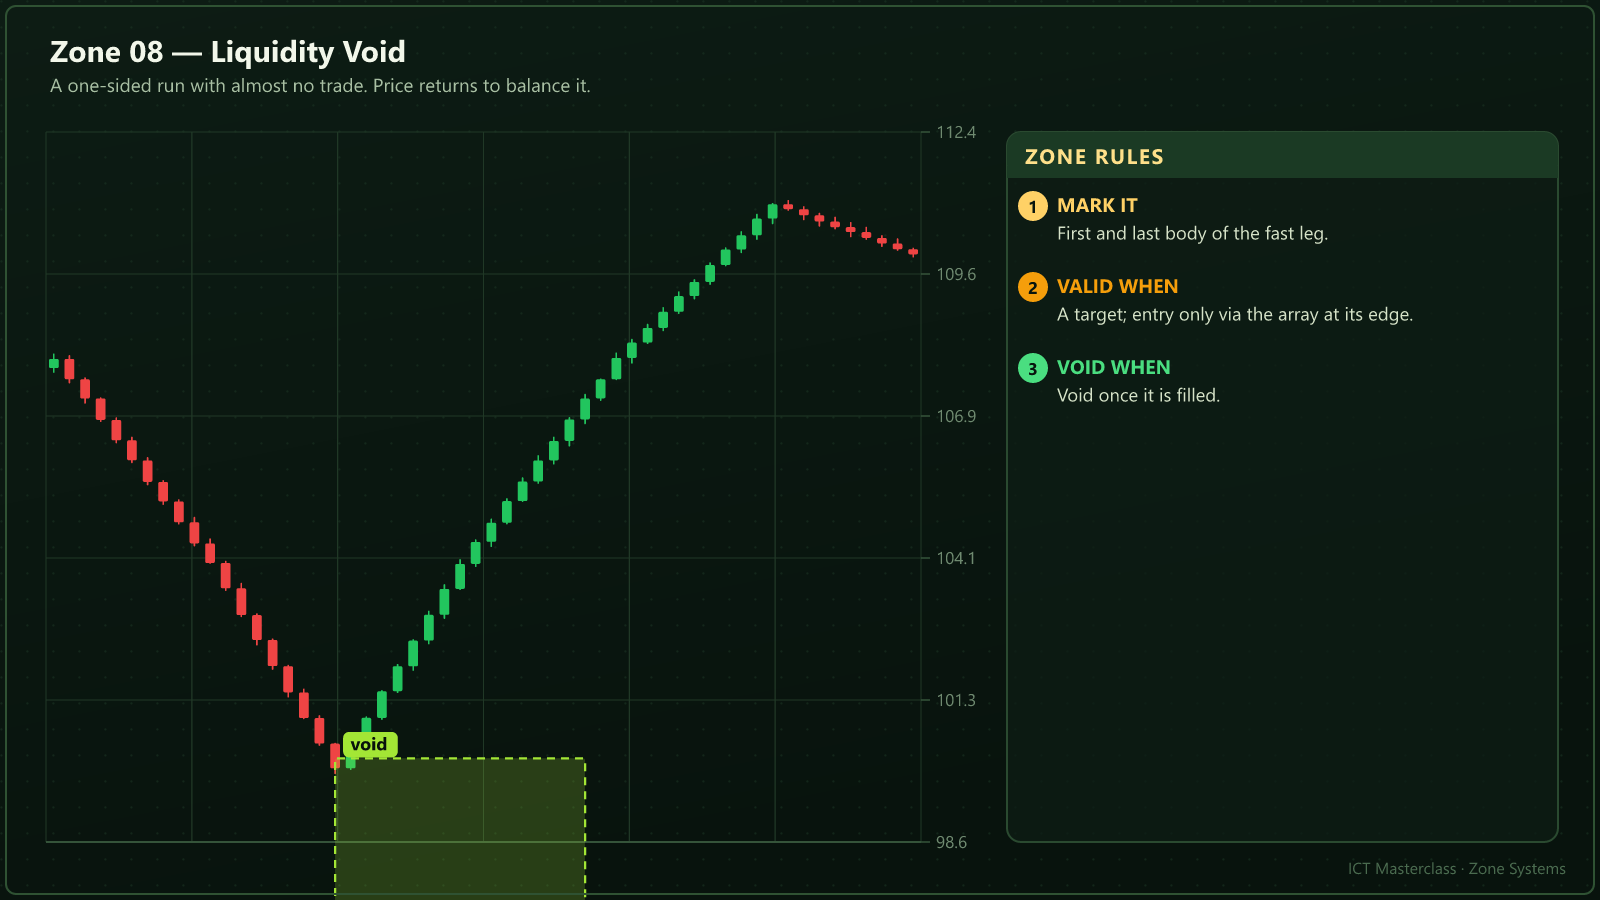
Liquidity Void
Almost no trade happened in the fast run, so price returns to restore balance.
| Topic | Rule |
|---|---|
How to mark it | First and last body of the fast leg. |
When it is valid | As a target; entry only at the array on its edge. |
When it is void | Once it is filled. |
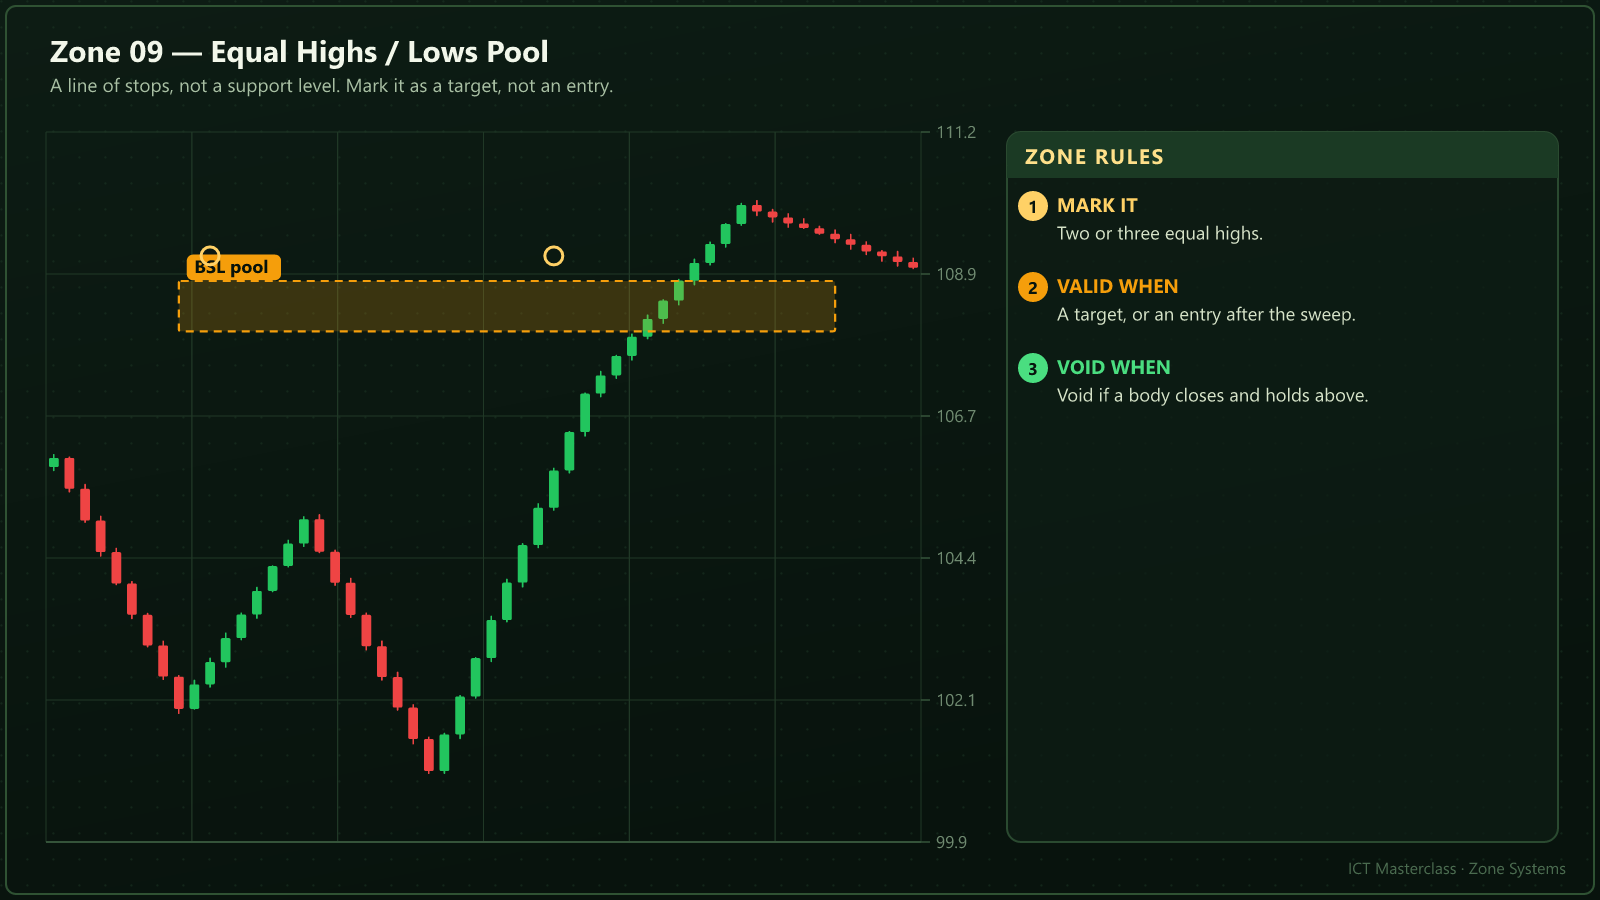
Equal Highs and Lows
This is not support or resistance, it is a line of stops: a target, not an entry.
| Topic | Rule |
|---|---|
How to mark it | Two or three equal extremes. |
When it is valid | A target, or the entry after the sweep. |
When it is void | A body closes and holds above. |
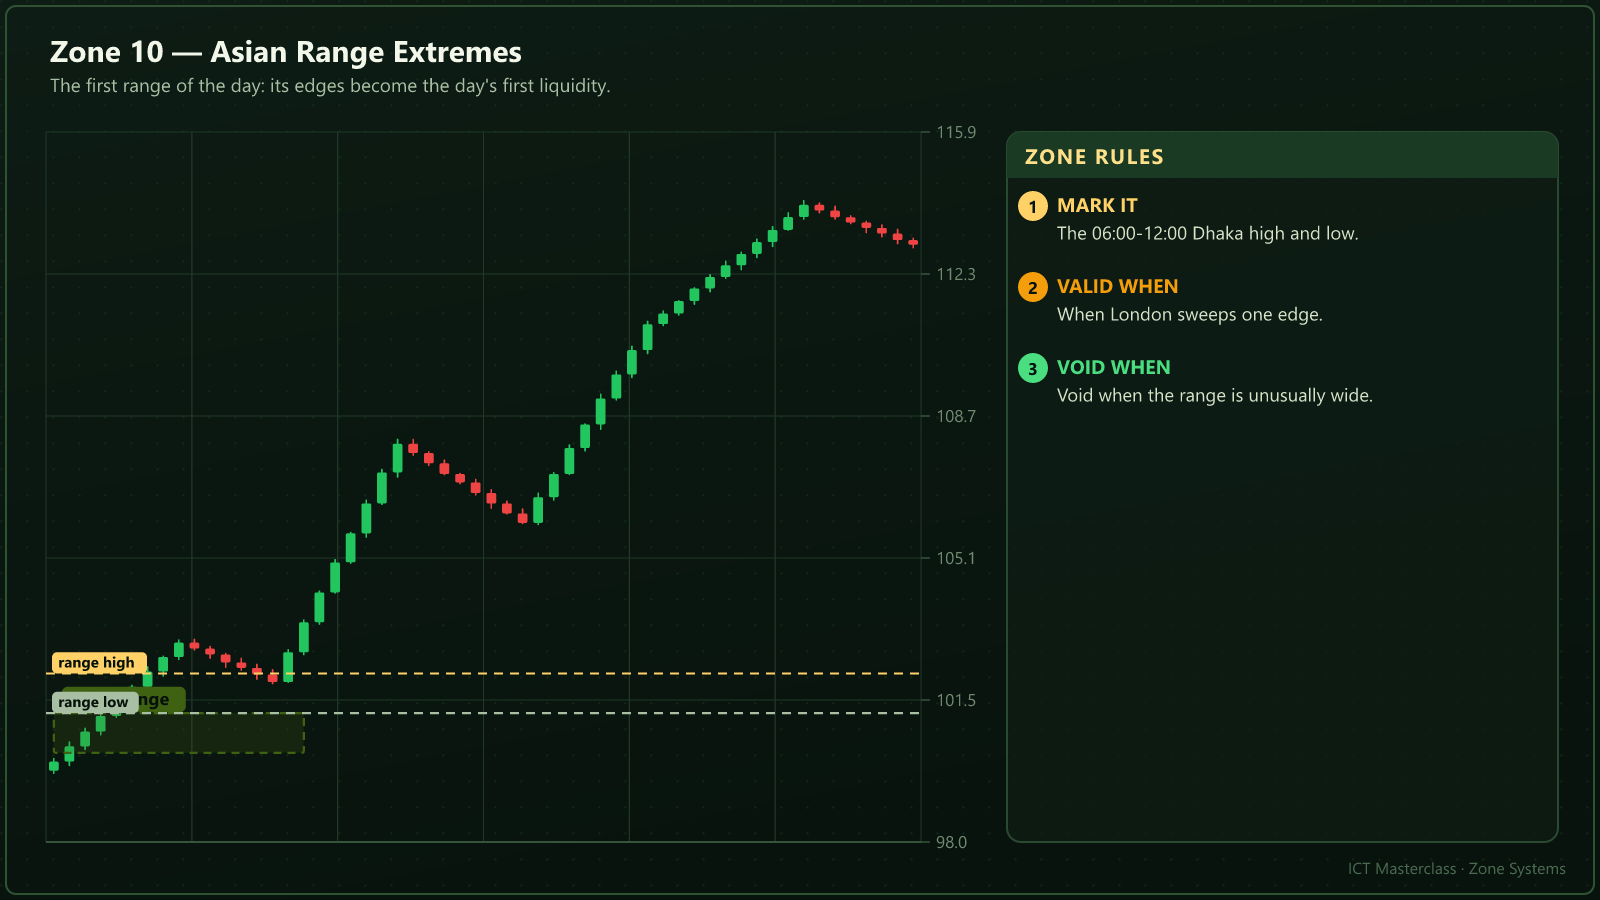
Asian Range Extremes
The first range of the day is the first liquidity; London often takes one edge and reverses.
| Topic | Rule |
|---|---|
How to mark it | The 06:00-12:00 Dhaka high and low. |
When it is valid | London sweeps one edge. |
When it is void | The range is unusually wide. |
Educational material only · not financial advice.