11.11Time-Based and Session Zones
The first ten zones were structure-based. The last ten are time-based: each line is born at a specific moment of the day or week, which means you can mark them in advance.
Previous Day High and Low
The first two magnets of every new day. Mark both before London, then watch which one goes first.
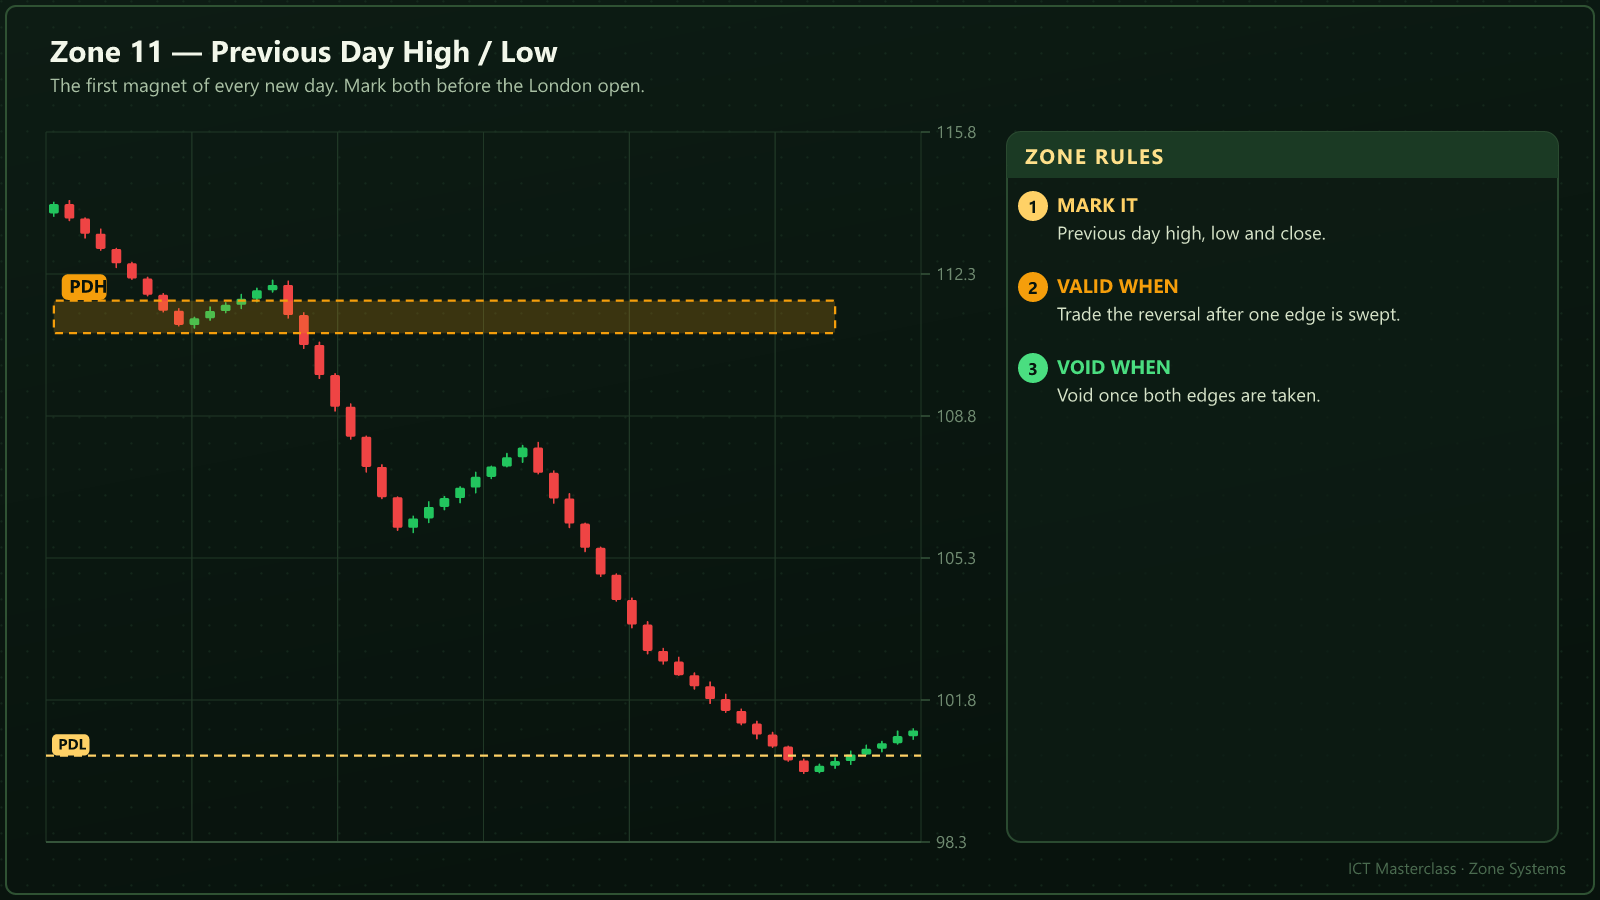
| Topic | Rule |
|---|---|
How to mark it | Previous day high, low and close. |
When it is valid | Trade the reversal after one edge is swept. |
When it is void | Once both edges are taken. |
Weekly Open
The week equilibriums. Above it the week is premium, below it discount - the most useful line on Monday.
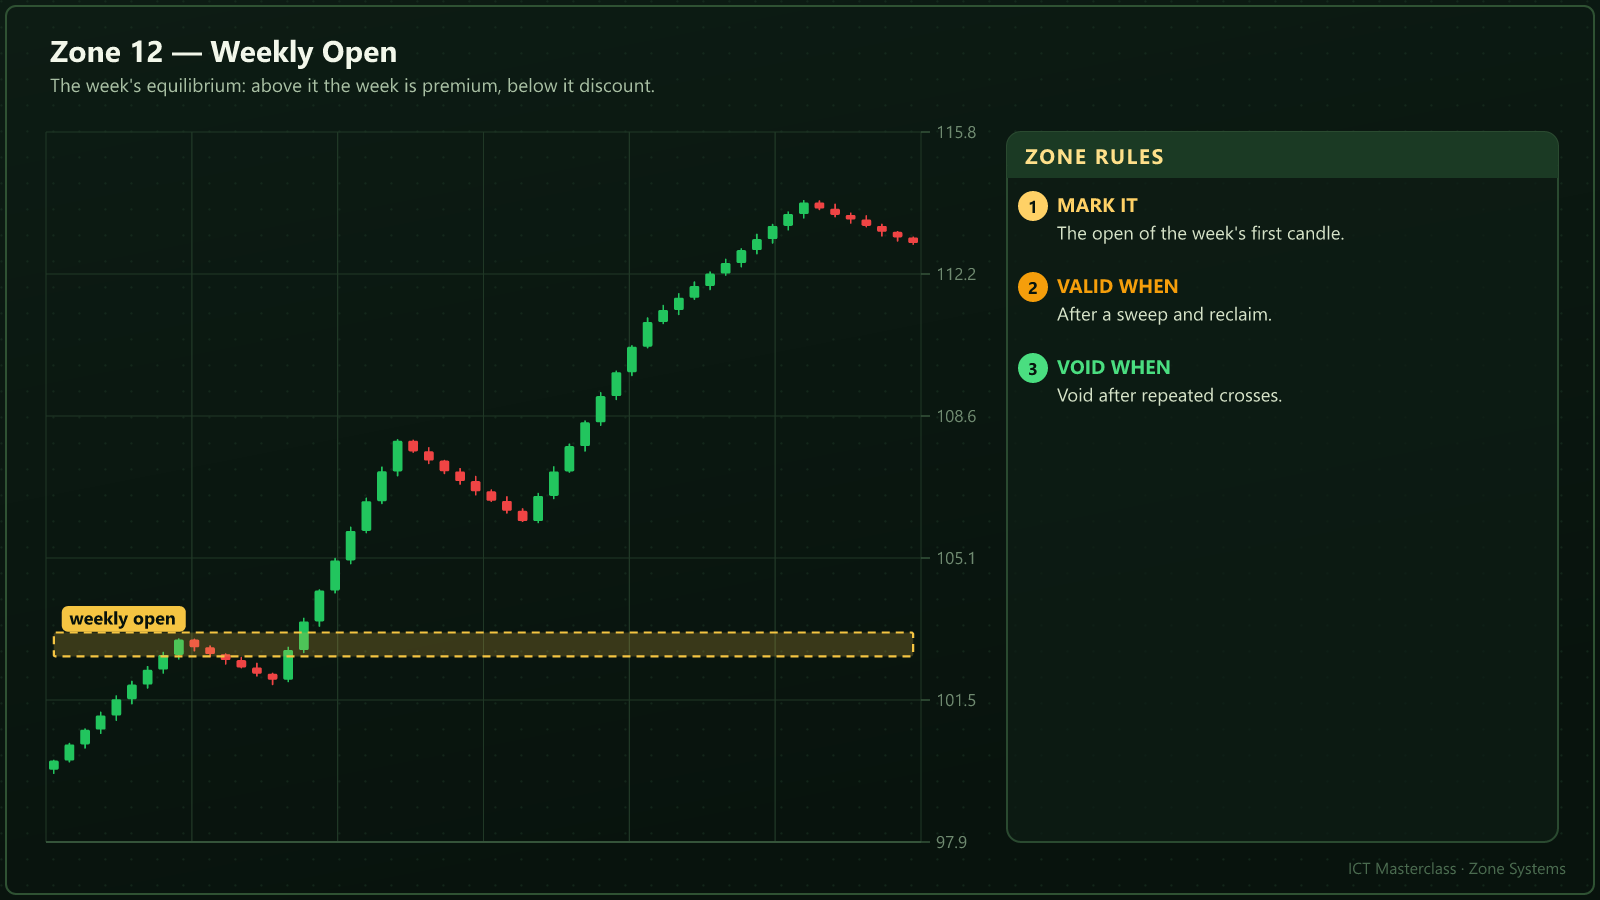
| Topic | Rule |
|---|---|
How to mark it | The open of the week first candle. |
When it is valid | After a sweep and reclaim. |
When it is void | Repeated crosses of the open. |
Midnight Open
The 00:00 NY open (11:00 Dhaka) is the fairest price of the day: above it bullish, below it bearish.
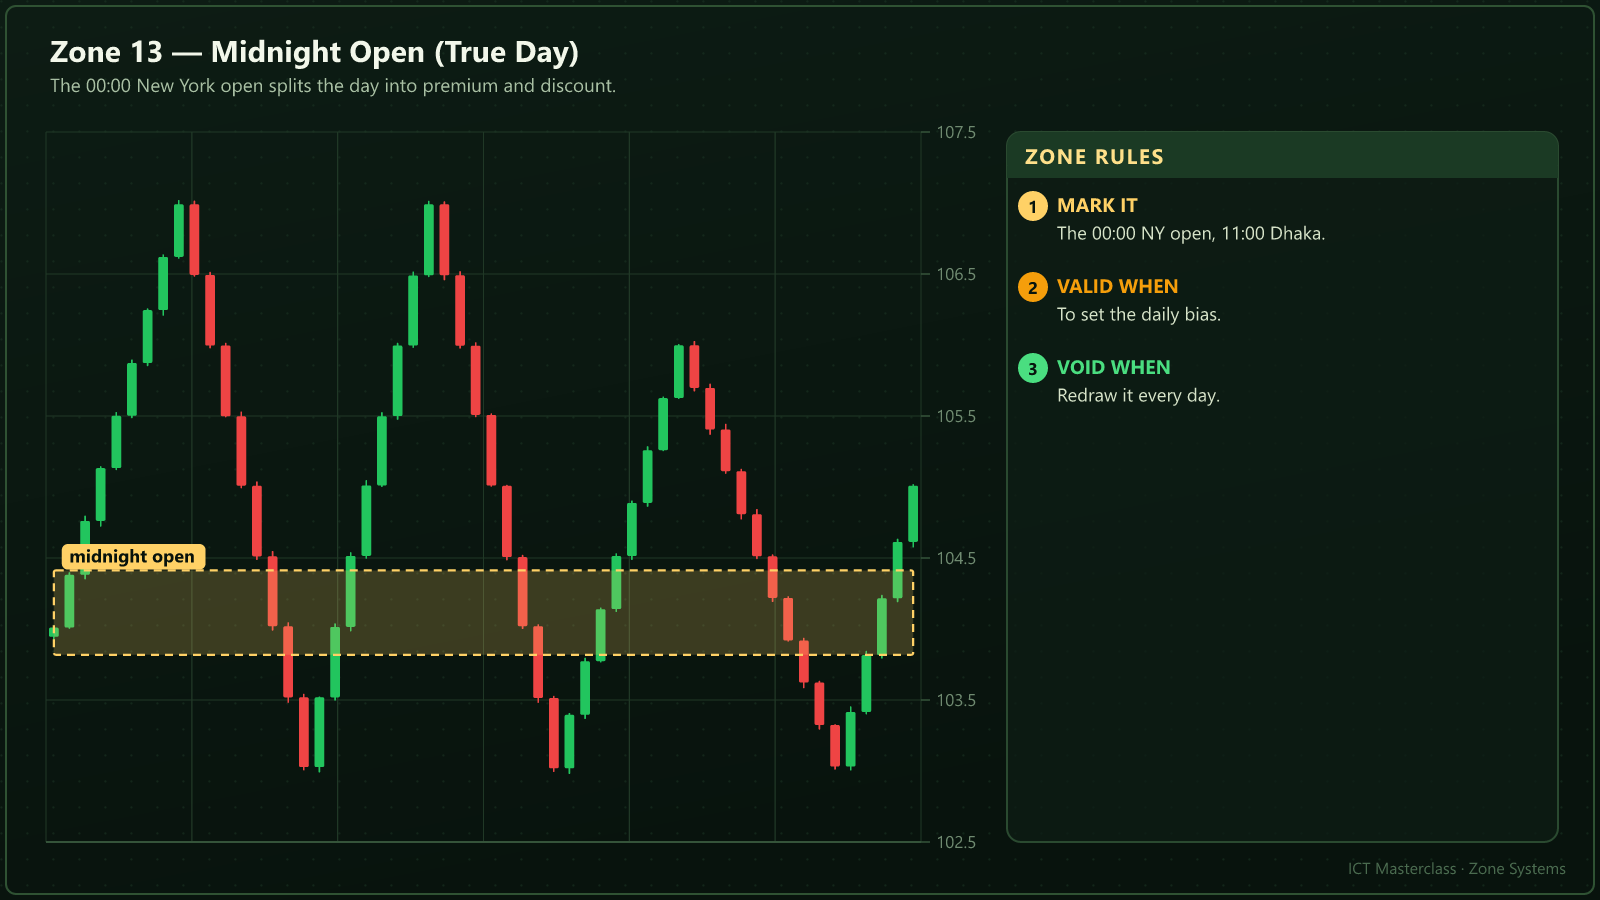
| Topic | Rule |
|---|---|
How to mark it | The 00:00 NY open line. |
When it is valid | To set the daily bias. |
When it is void | It must be redrawn daily. |
London Session Extremes
The London high and low are the next liquidity after Asia; New York usually takes one of them.
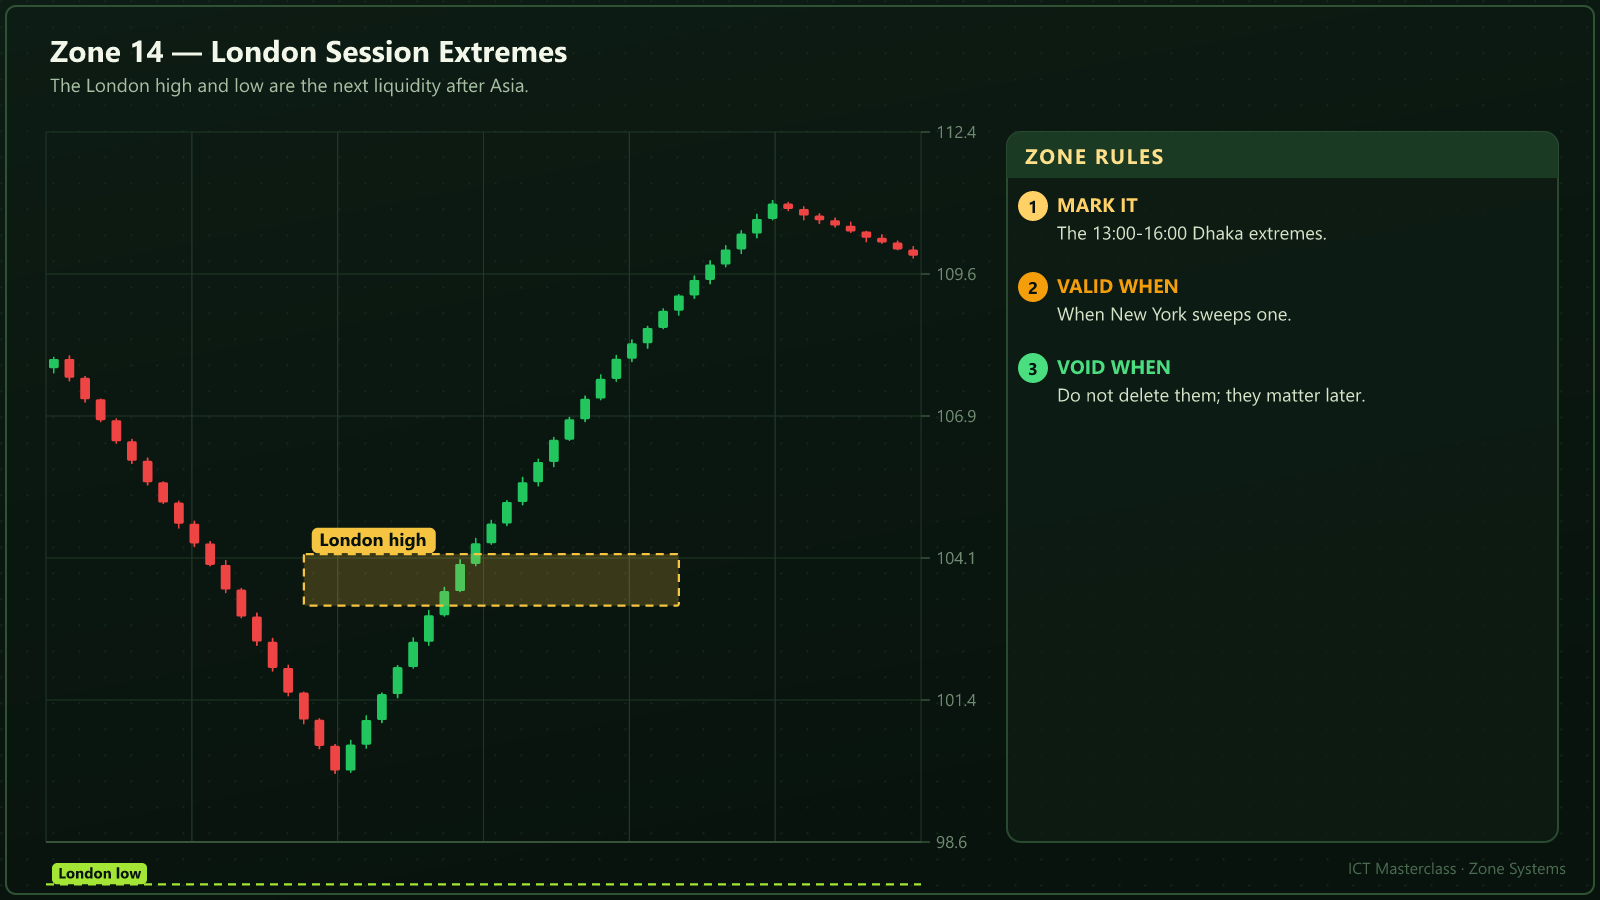
| Topic | Rule |
|---|---|
How to mark it | The 13:00-16:00 Dhaka extremes. |
When it is valid | When New York sweeps one. |
When it is void | Do not delete them; they matter tomorrow. |
New York Session Extremes
The last delivery of the day usually targets the opposite session extreme; these become tomorrow targets.
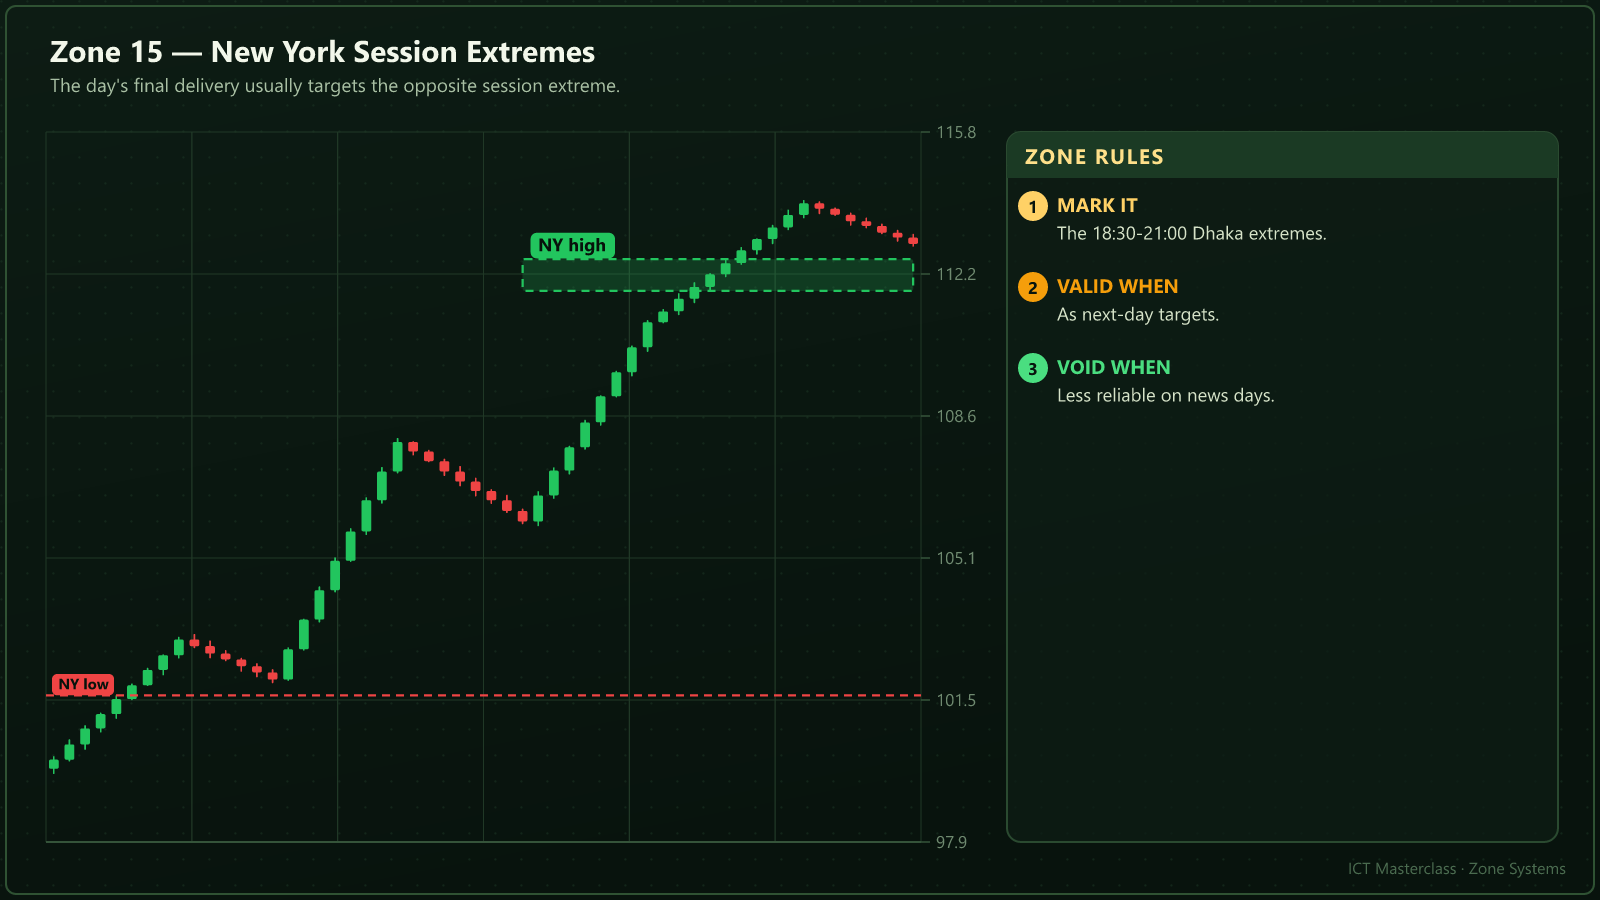
| Topic | Rule |
|---|---|
How to mark it | The 18:30-21:00 Dhaka extremes. |
When it is valid | As next-day targets. |
When it is void | Less reliable on news days. |
OTE Zone
The best R with the trend, because the stop sits just beyond the 100 percent that is close by.
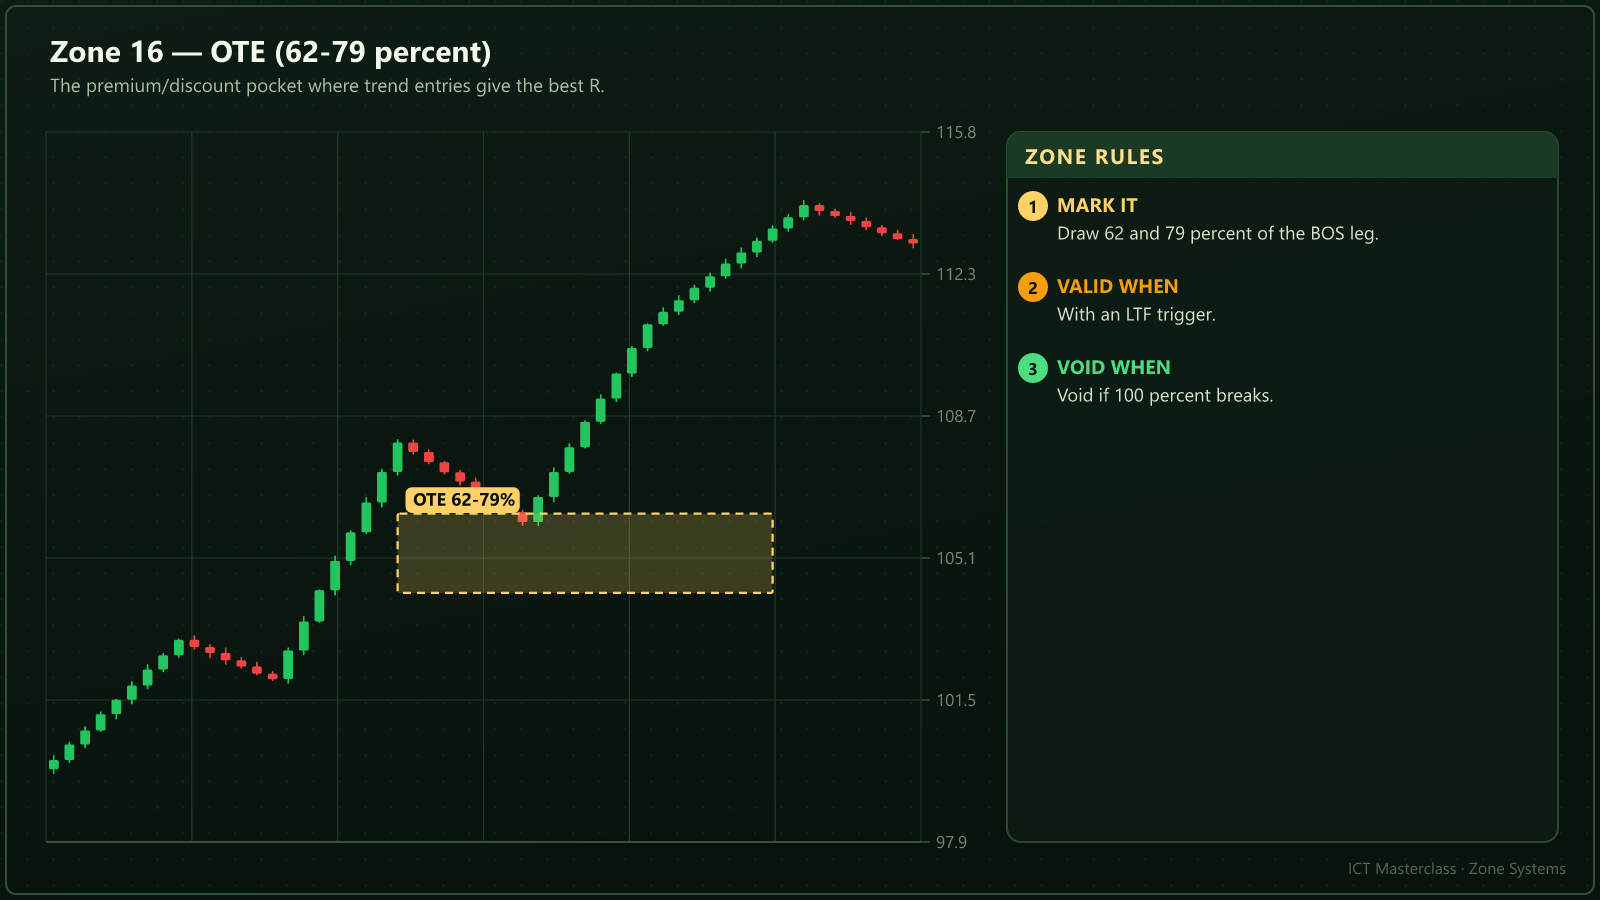
| Topic | Rule |
|---|---|
How to mark it | 62 and 79 percent of the BOS leg. |
When it is valid | With an LTF trigger. |
When it is void | If 100 percent breaks. |
70.5 Percent Line
One line instead of a zone: tighter stop and bigger R, but fewer fills.
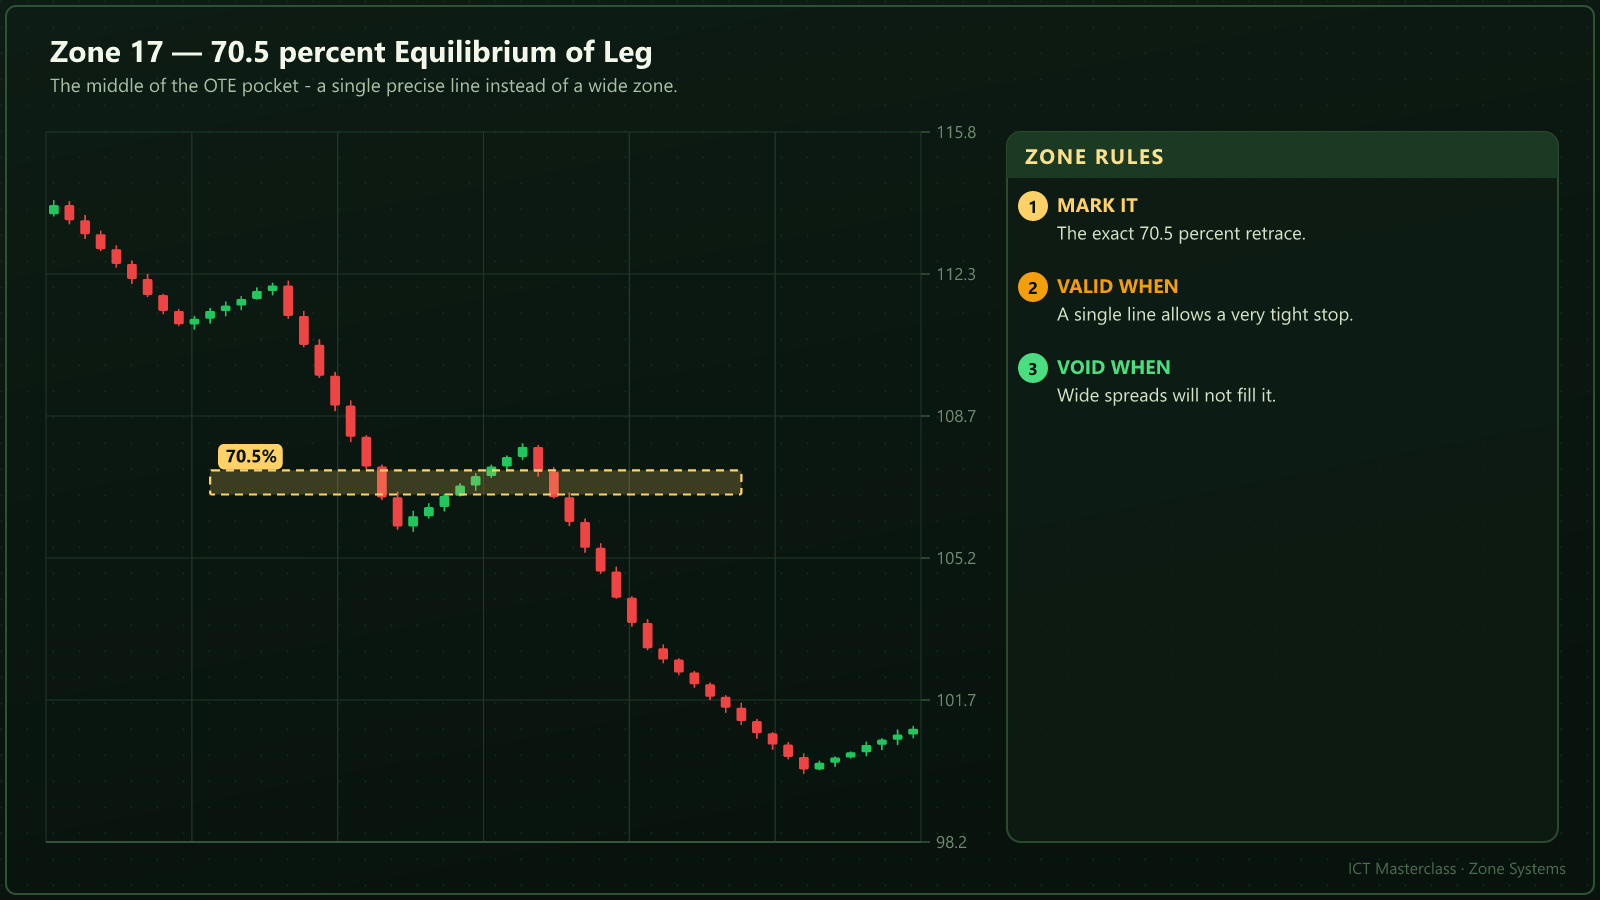
| Topic | Rule |
|---|---|
How to mark it | The exact 70.5 percent retrace. |
When it is valid | Tight spread and a liquid session. |
When it is void | Wide spreads will not fill you. |
Inversion FVG
A failed FVG becomes the opposite side zone; re-entering it in the original direction is the classic mistake.
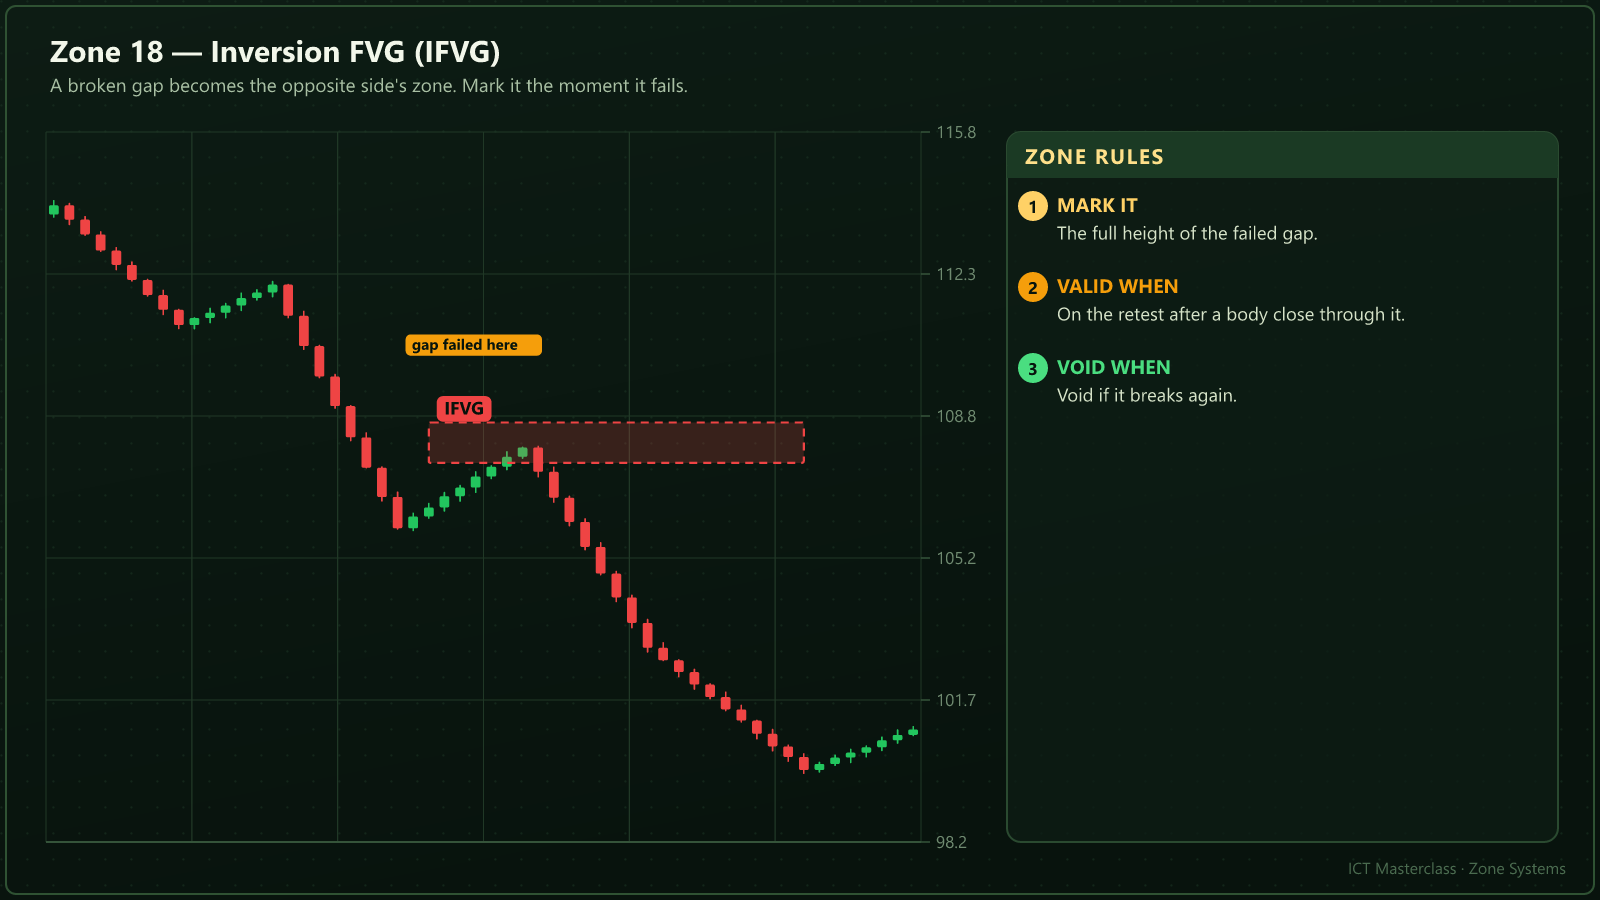
| Topic | Rule |
|---|---|
How to mark it | The full height of the failed gap. |
When it is valid | On the retest after a body close. |
When it is void | If it breaks again. |
Nested Zone
A lower-timeframe zone inside a higher one: two kinds of traders entering the same price.
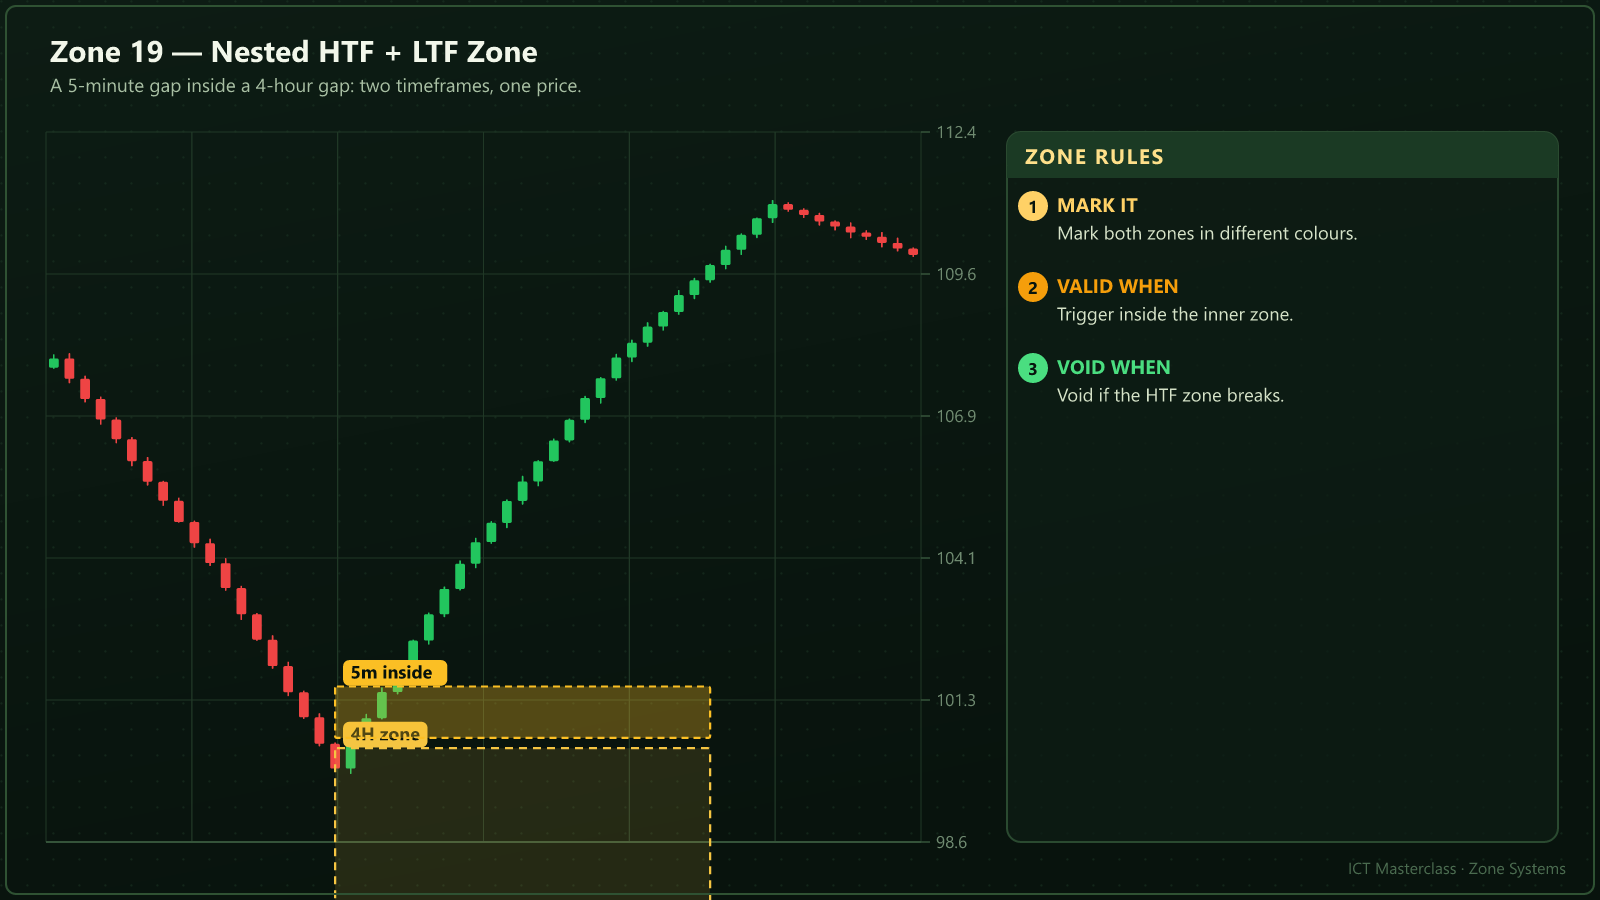
| Topic | Rule |
|---|---|
How to mark it | Mark both zones in different colours. |
When it is valid | Trigger inside the inner zone. |
When it is void | If the outer zone breaks. |
Trendline Liquidity
Stops stack along the line; a break is a liquidity event, not a support failure.
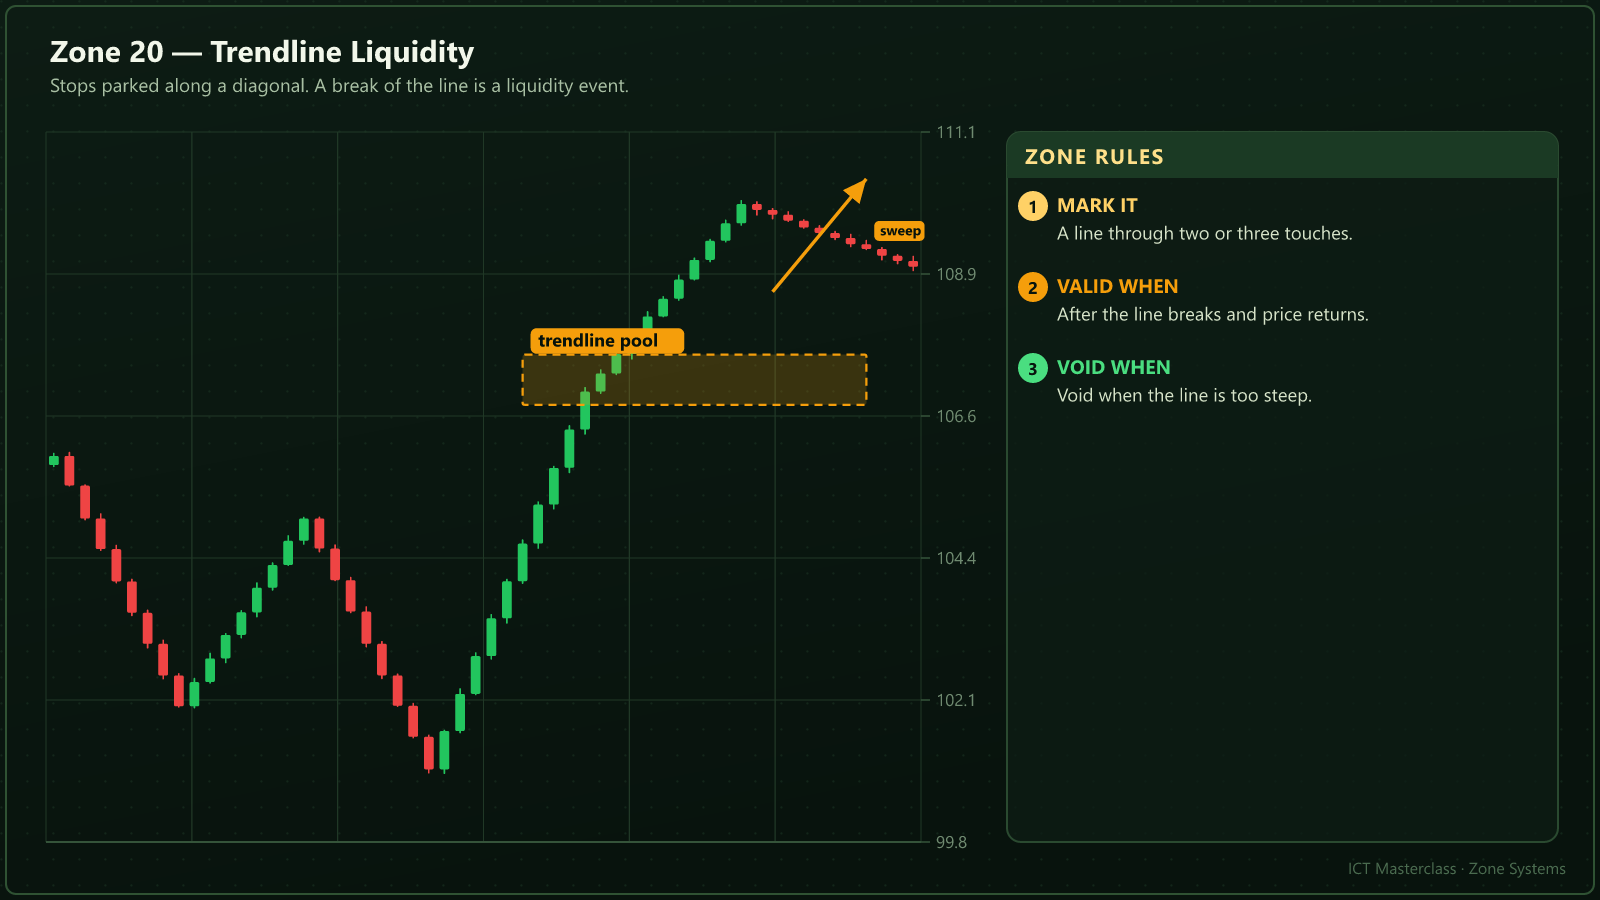
| Topic | Rule |
|---|---|
How to mark it | A line through two or three touches. |
When it is valid | After the break and the return. |
When it is void | If the line is too steep. |
Educational material only · not financial advice.