CHAPTER 13
Liquidation Traps 1-20
Recognising the trap is half the battle. These twenty traps kill most retail accounts, and each one comes with a detection rule and an escape.
The pattern: a trap always sits where the setup looks most obvious, because that is where the stops are. If everyone can see it, it is usually the trap.
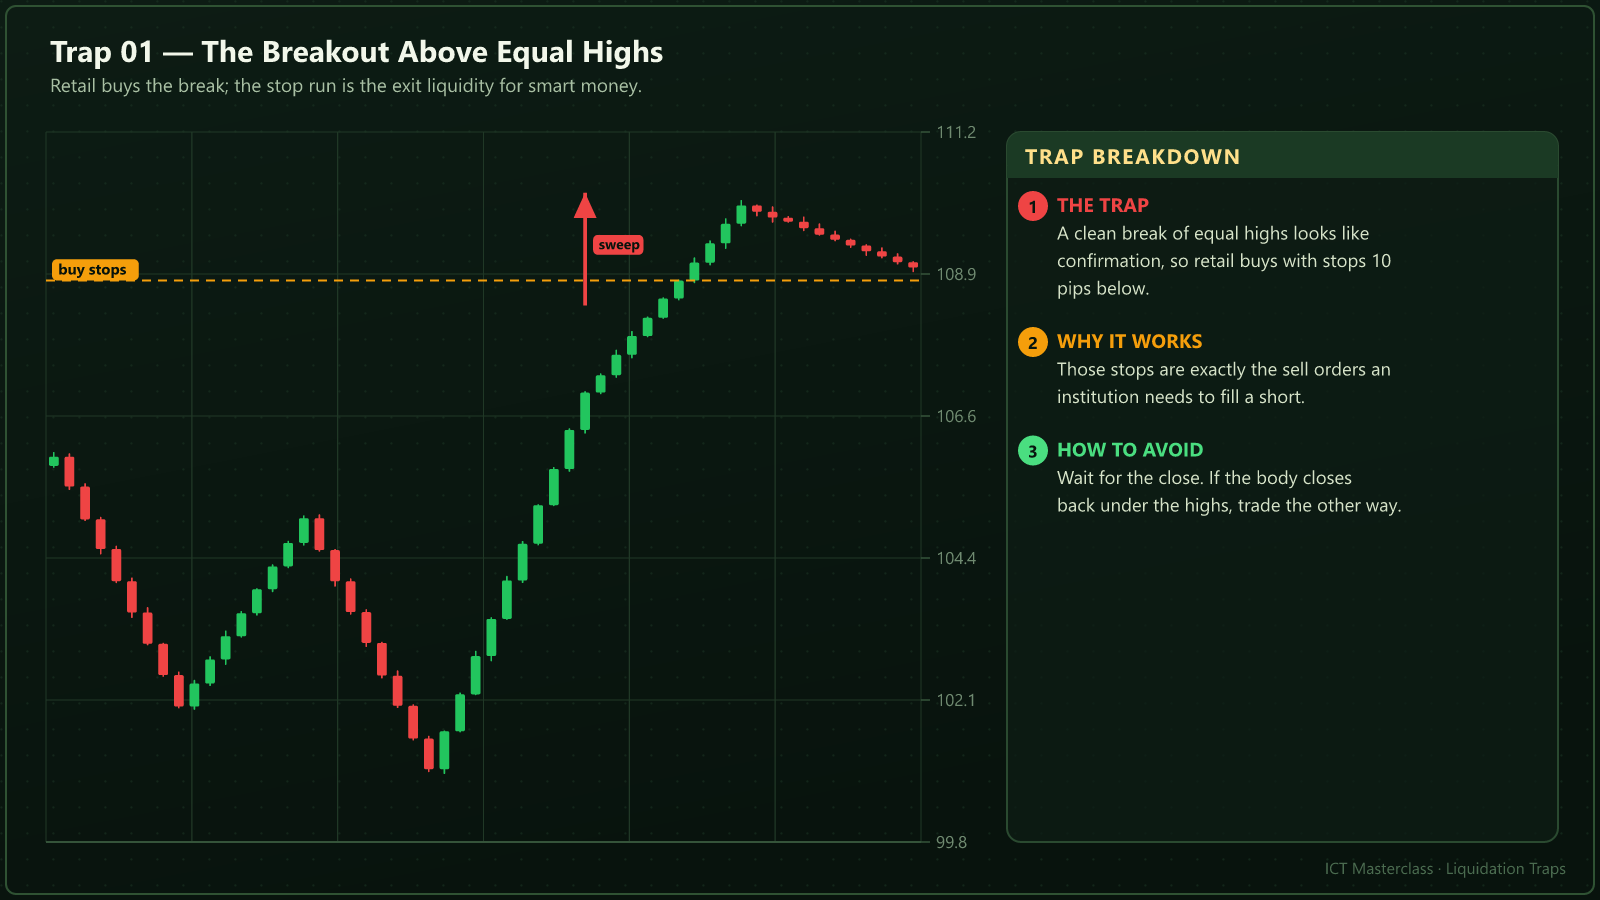
Breakout Above Equal Highs
A clean break of equal highs looks like confirmation, so retail buys with stops ten pips below - and those stops are exactly the sell orders an institution needs.
| Topic | Rule |
|---|---|
The trap | Entering on the breakout candle. |
Why it works | The stop pool is the opposite side liquidity. |
How to avoid | Read the close; if the body returns inside, take the other side. |
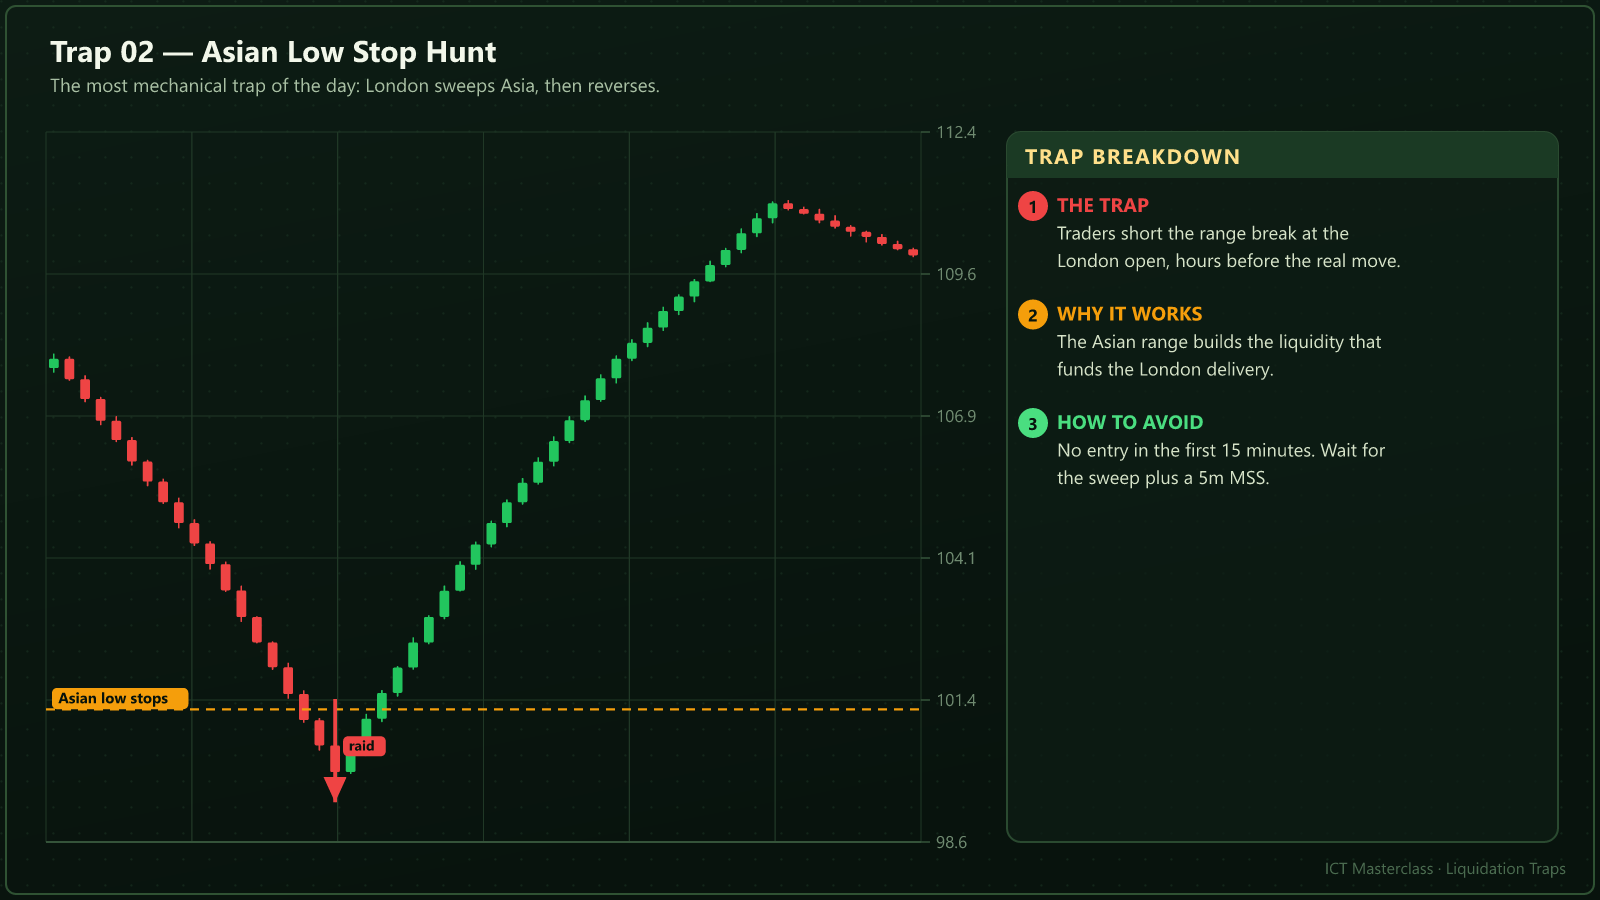
Asian Low Stop Hunt
Shorting the range break at the London open is the easiest mistake in the book: the Asian range builds the liquidity that London eats first.
| Topic | Rule |
|---|---|
The trap | Shorting the range break in the first 15 minutes. |
Why it works | The range is the first plate of liquidity. |
How to avoid | Wait for the sweep plus a 5-minute MSS. |
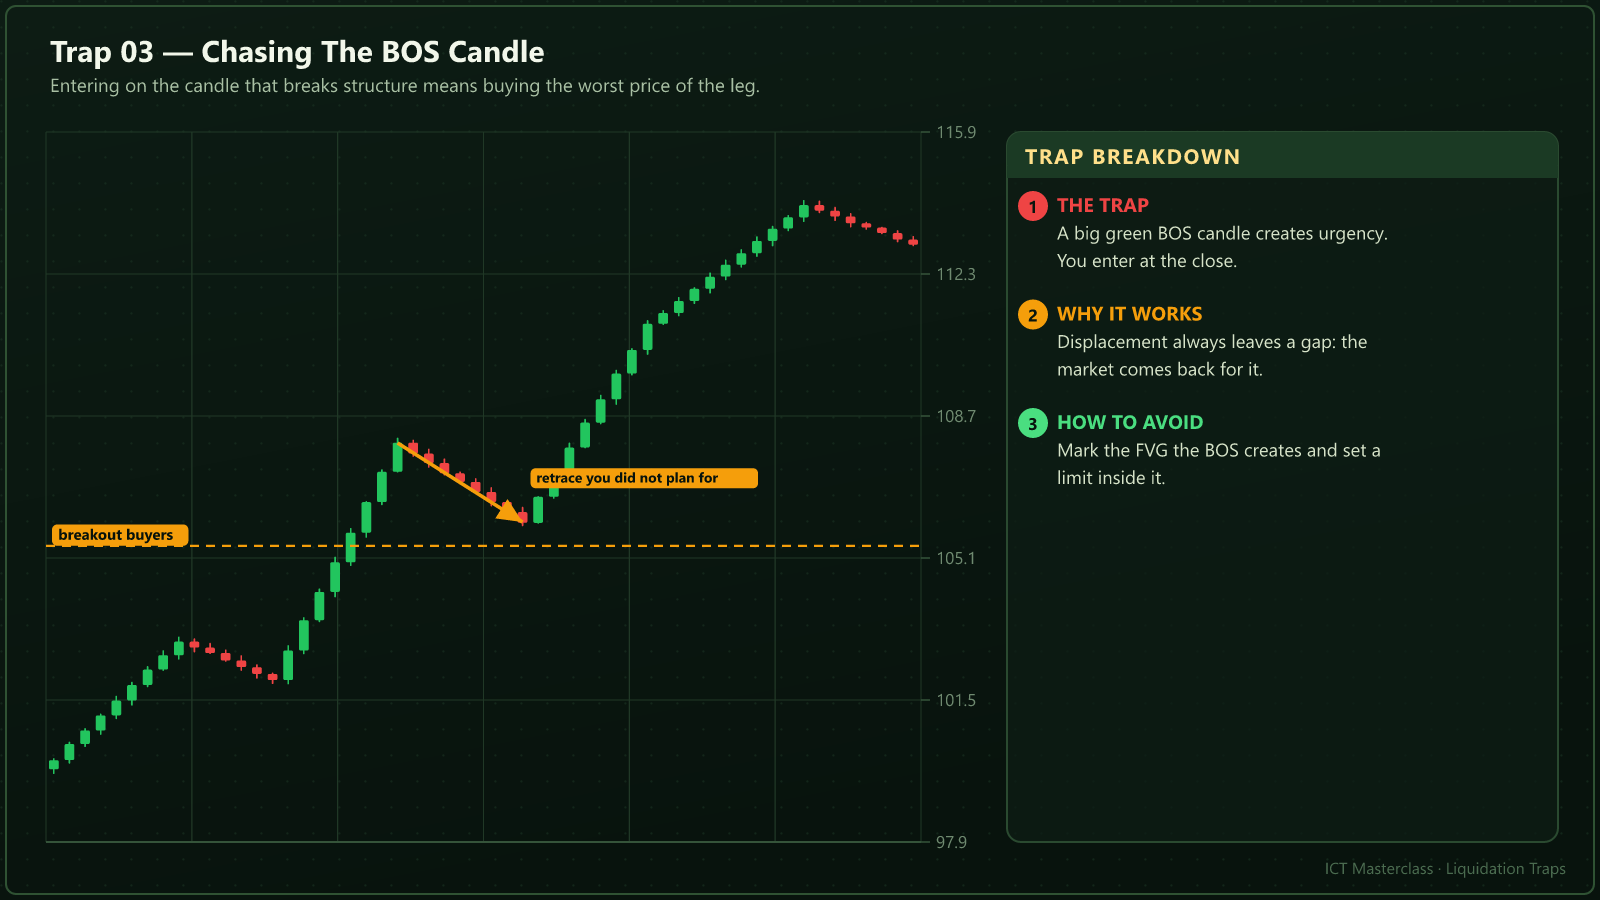
Chasing The BOS Candle
A big green BOS candle creates urgency, so people enter at its close - the worst price of the whole leg.
| Topic | Rule |
|---|---|
The trap | Market order at the break close. |
Why it works | Displacement leaves a gap and price returns to it. |
How to avoid | Set a limit inside the FVG the BOS created. |
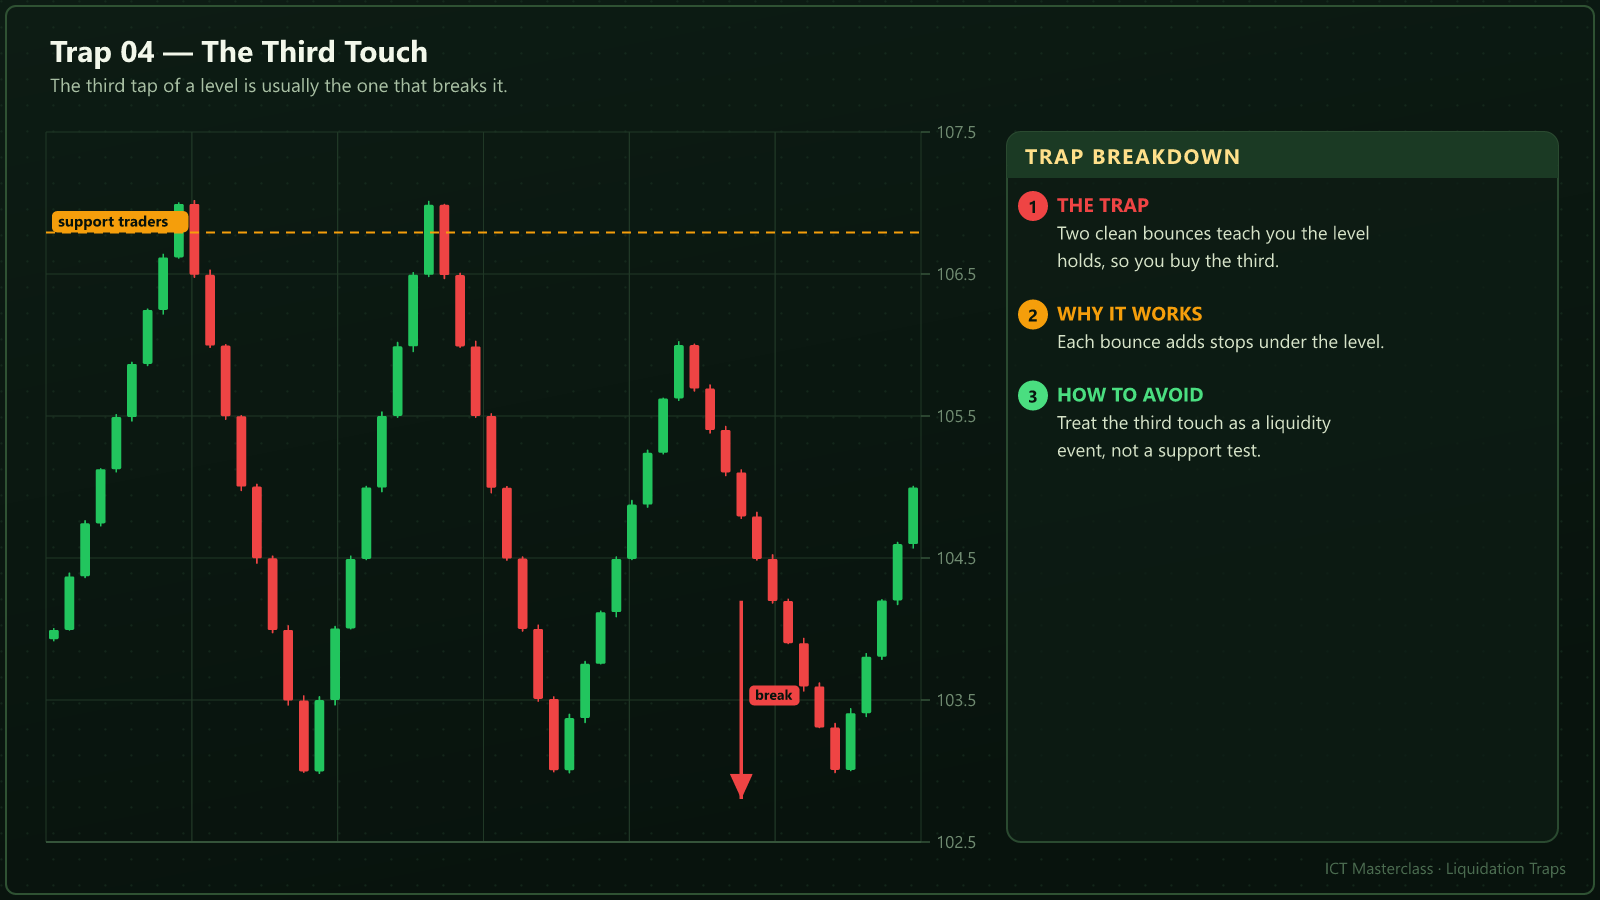
The Third Touch
Two clean bounces teach you the level holds, so you buy the third - which is the one that breaks.
| Topic | Rule |
|---|---|
The trap | Long on the third test. |
Why it works | Each bounce adds stops underneath. |
How to avoid | Treat the third touch as a liquidity event. |
Buying Premium
A beautiful OB above the 50 percent of the range puts the stop close and the target far: inverted R.
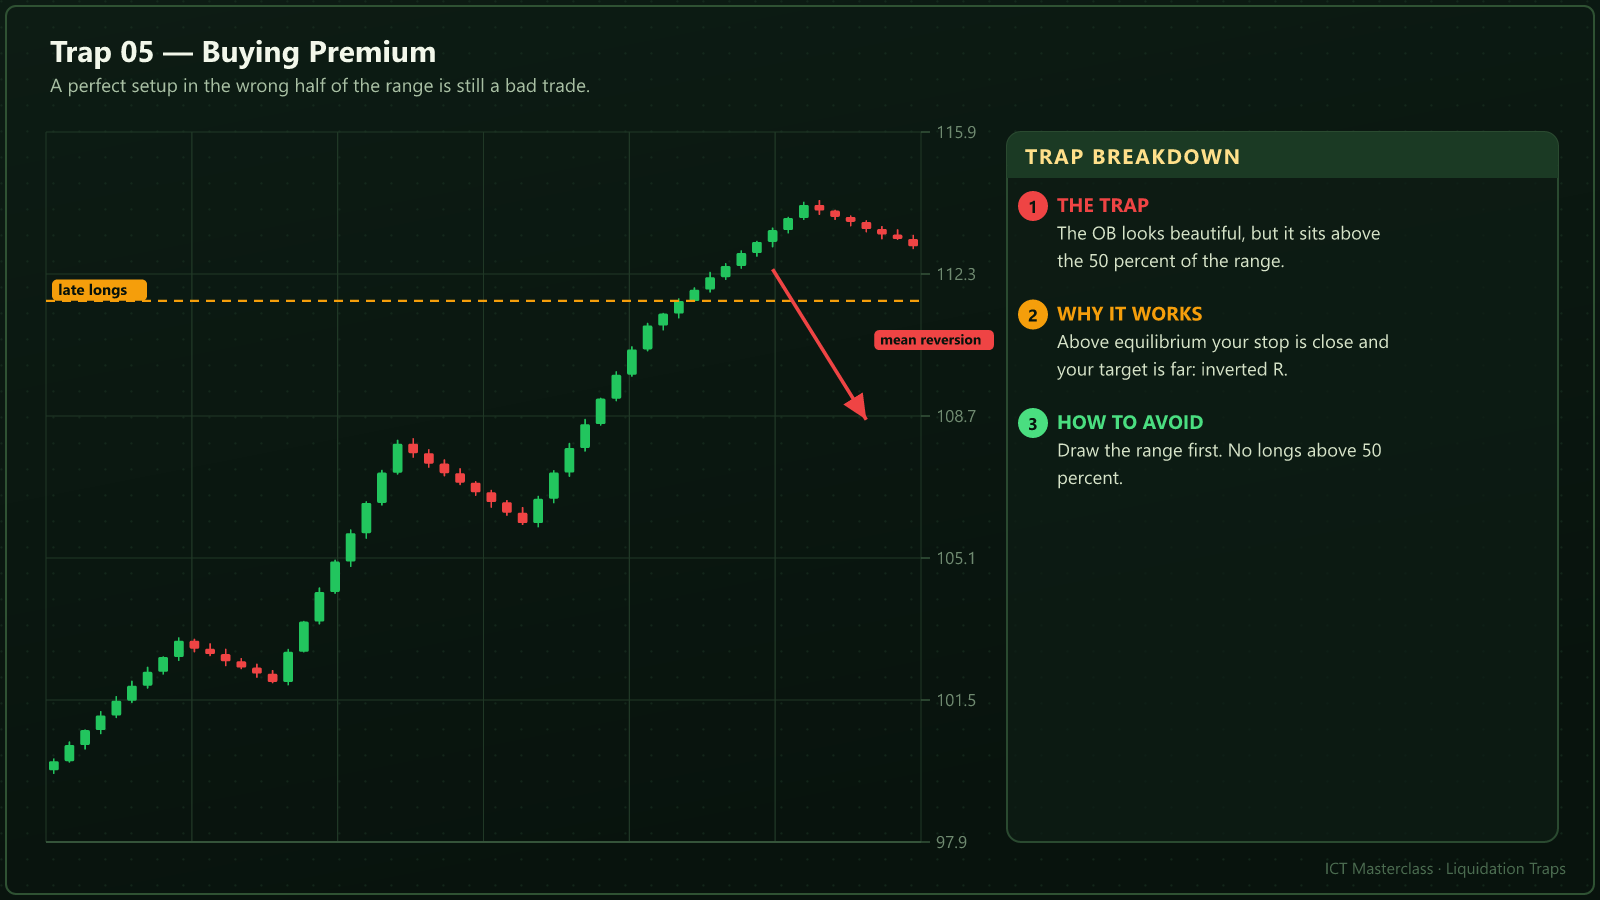
| Topic | Rule |
|---|---|
The trap | Long from an OB in premium. |
Why it works | Stops above are close, the target below is far. |
How to avoid | Draw the range first; no longs above 50 percent. |
Trading The Failed Gap
The gap already closed through, but the chart still whispers "buy here" - your buy is their exit.
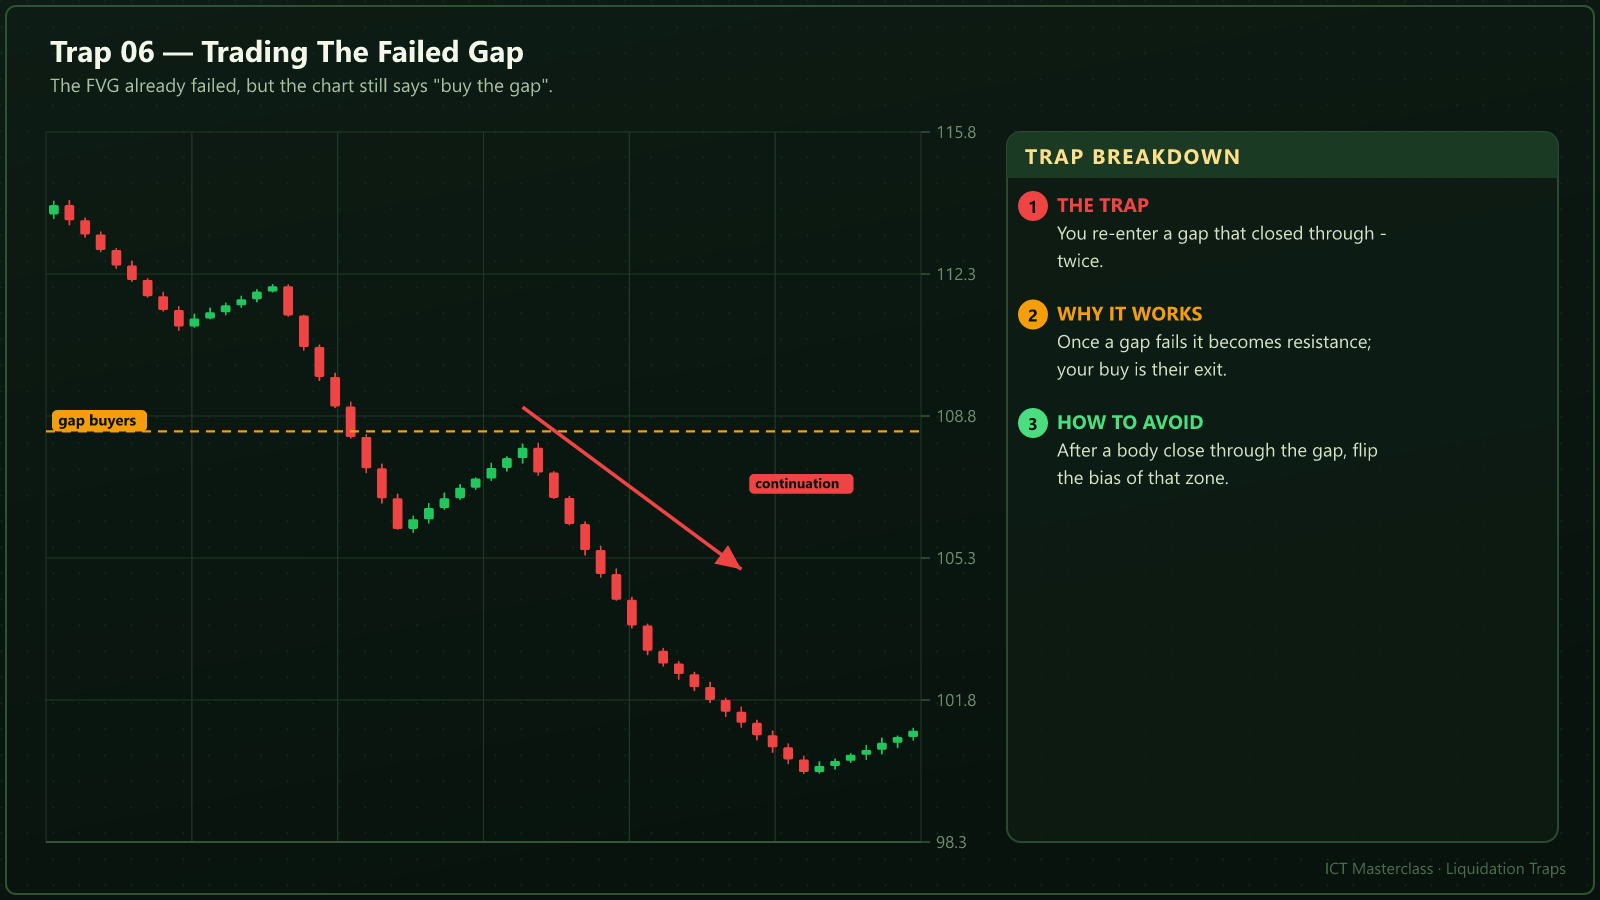
| Topic | Rule |
|---|---|
The trap | Buying a gap that already failed. |
Why it works | A failed gap is resistance now. |
How to avoid | Flip the zone bias after the body close. |
Entry Outside The Killzone
Right price, wrong hour: at lunch there is no order flow, so price dies and the spread eats you.
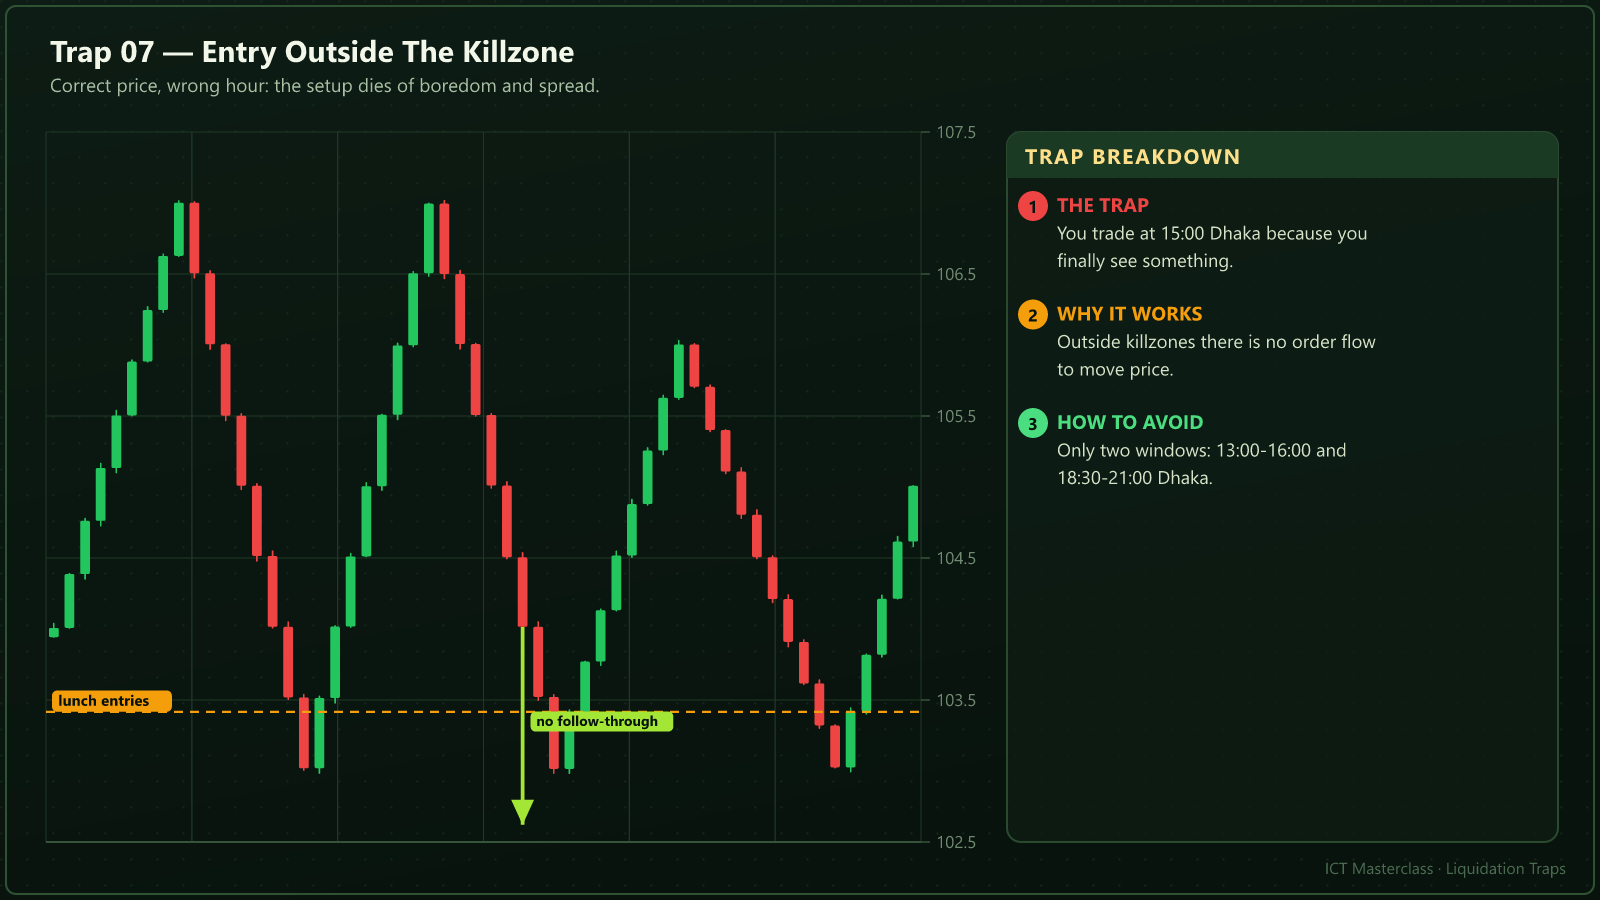
| Topic | Rule |
|---|---|
The trap | Trading at 15:00 Dhaka. |
Why it works | No delivery happens outside killzones. |
How to avoid | Only 13:00-16:00 and 18:30-21:00 Dhaka. |
Averaging Into A Loser
Adding every 20 pips "because it will come back" doubles the risk without improving the odds.
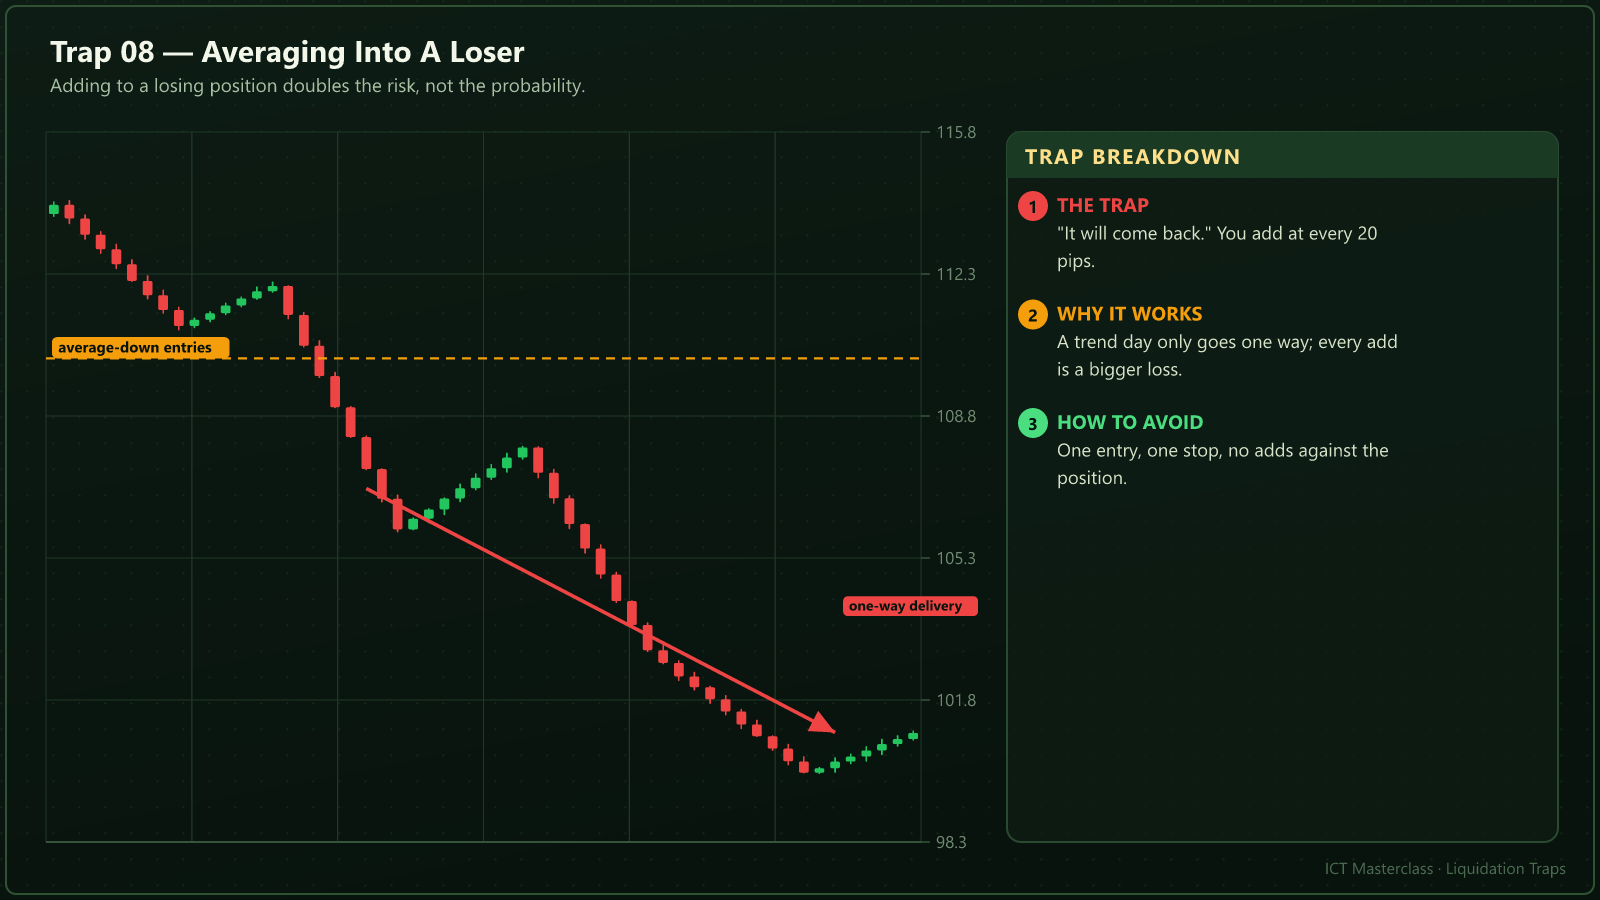
| Topic | Rule |
|---|---|
The trap | Adding to a loser. |
Why it works | Trend days only go one way. |
How to avoid | One entry, one stop, no adds. |
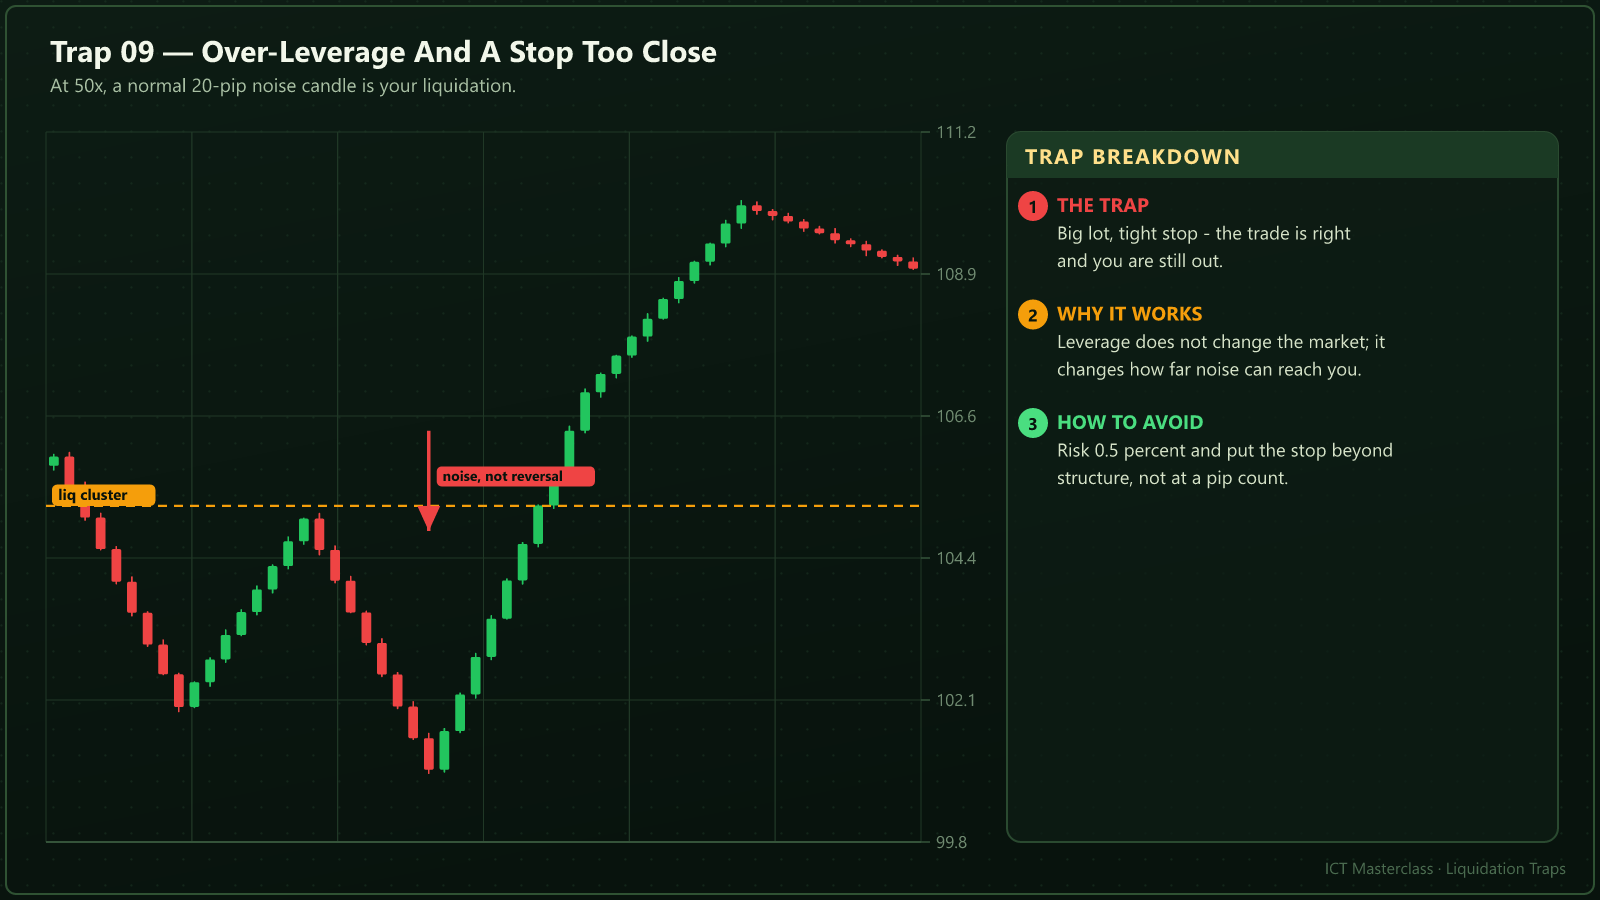
Over-Leverage And A Tight Stop
At 50x a normal 20-pip noise candle is your liquidation: right direction, dead account.
| Topic | Rule |
|---|---|
The trap | Big lot, tight stop. |
Why it works | Leverage does not change the market, it changes how far noise reaches. |
How to avoid | 0.5 percent risk, stop beyond structure. |
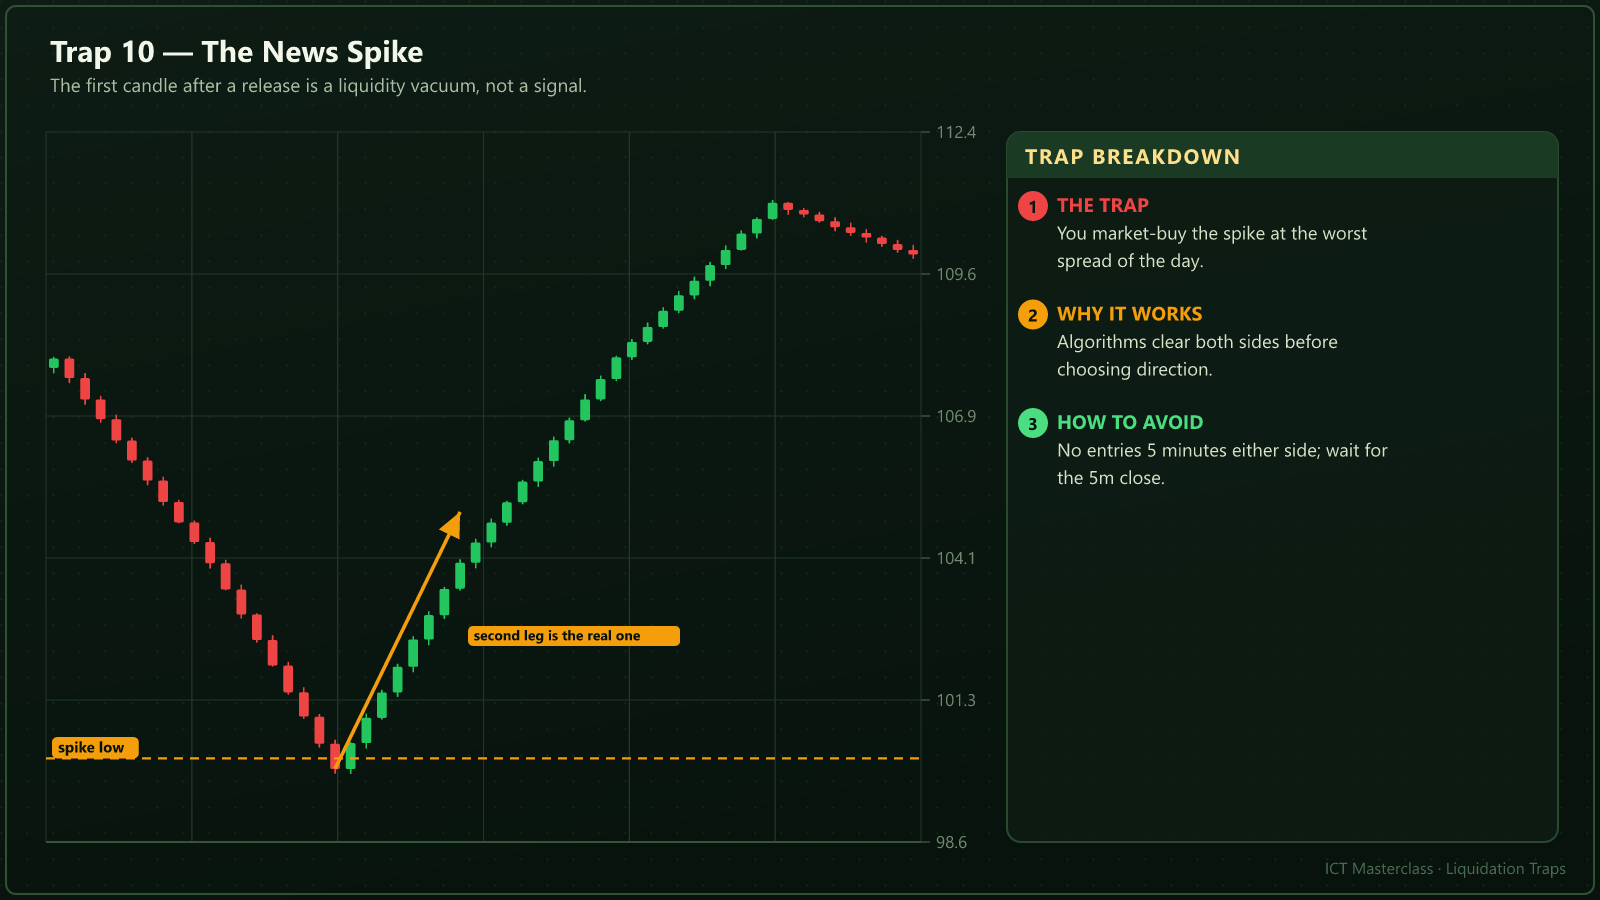
The News Spike
The first candle after a release is a liquidity vacuum, not a signal: algorithms clear both sides before choosing.
| Topic | Rule |
|---|---|
The trap | Market order into the spike. |
Why it works | Widest spread and stops on both sides. |
How to avoid | Nothing five minutes either side; wait for the 5m close. |
Educational material only · not financial advice.