CHAPTER 17
40 Trading Patterns — FVG and OB Basis
The same FVG does not always work; location, timeframe and confluence decide. These forty cards show the difference.
17.120 Patterns — FVG Basis
Every card shows the gap, its location and the trade side. Notice the same gap is a trap in premium and an opportunity in discount.
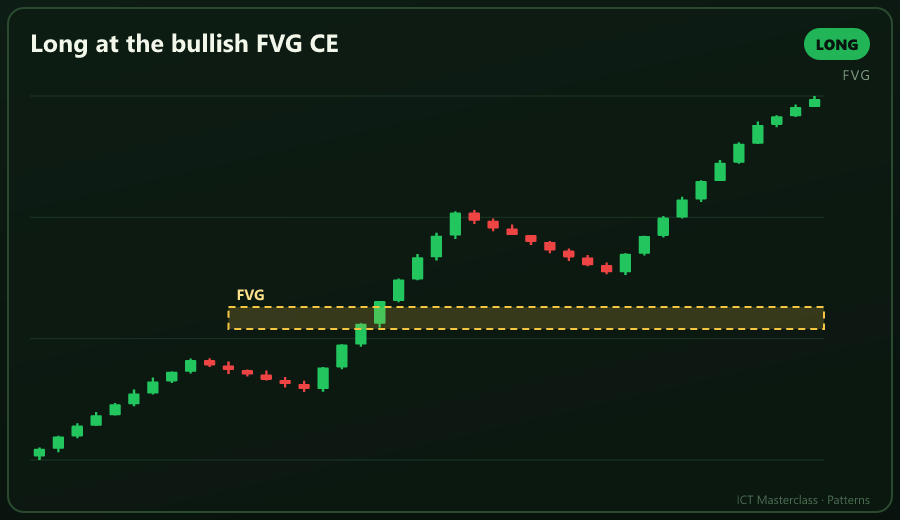
C1 Long at the bullish FVG CE
The 50 percent of the gap holds the most orders; stop below the gap.
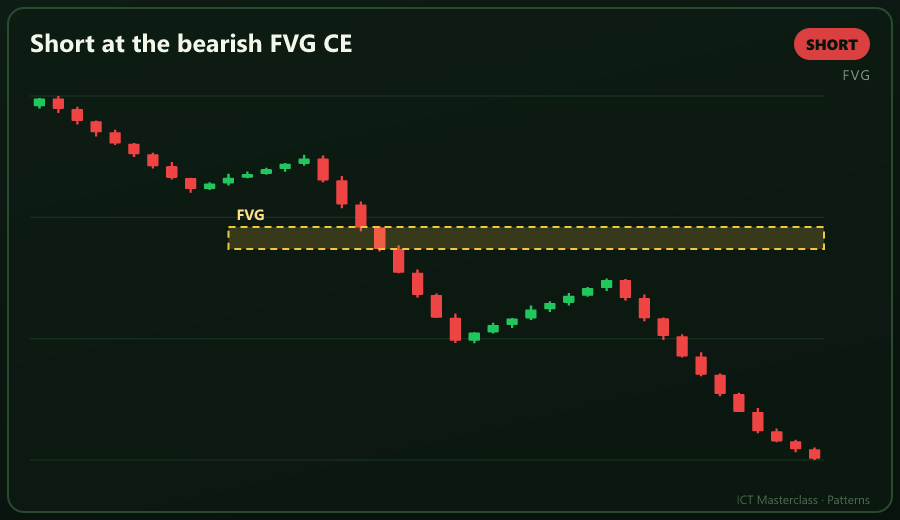
C2 Short at the bearish FVG CE
In premium, the CE is the best price you will get.
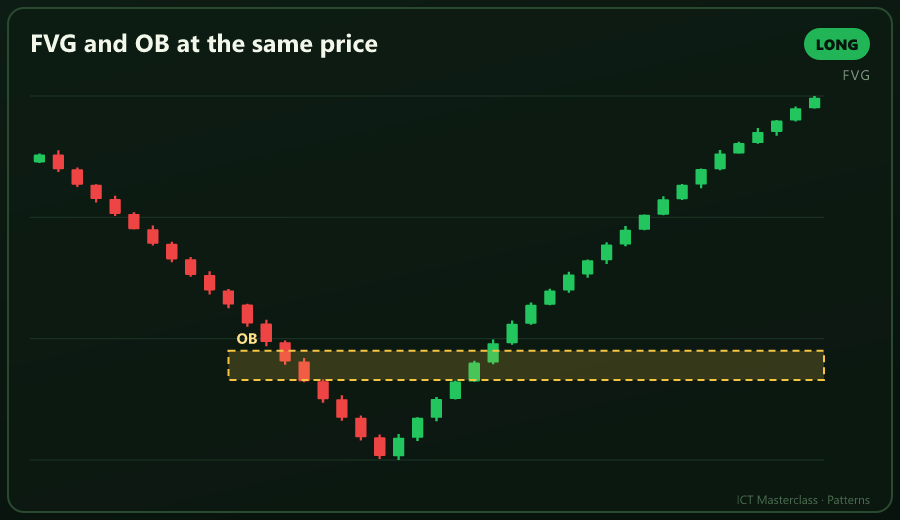
C3 FVG and OB at the same price
Two reasons at one price is an A+ rank.
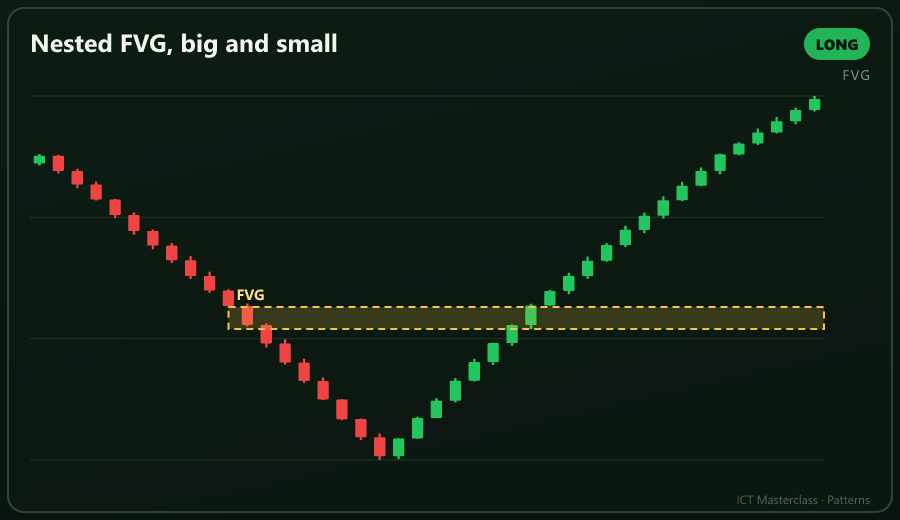
C4 Nested FVG, big and small
A small gap inside a big one gives a precise entry and a tiny stop.
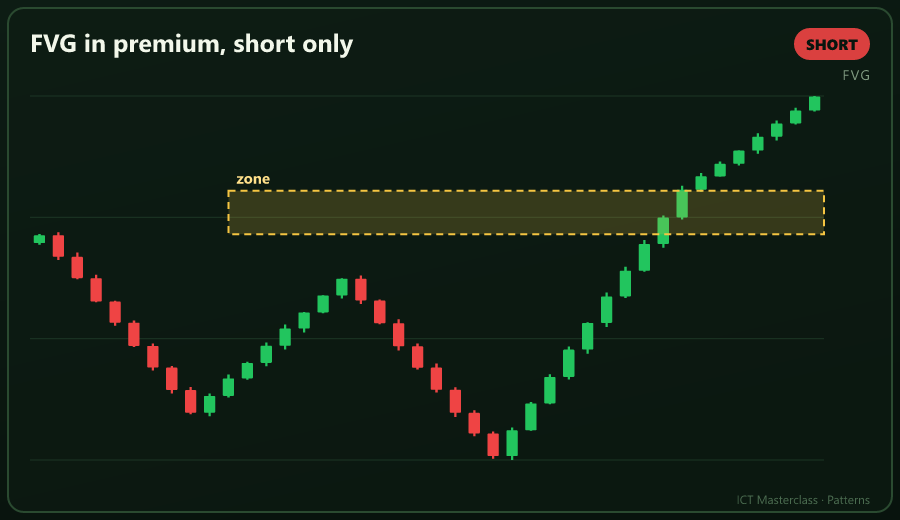
C5 FVG in premium, short only
A bullish gap in premium is a trap; skip it when the side does not match.
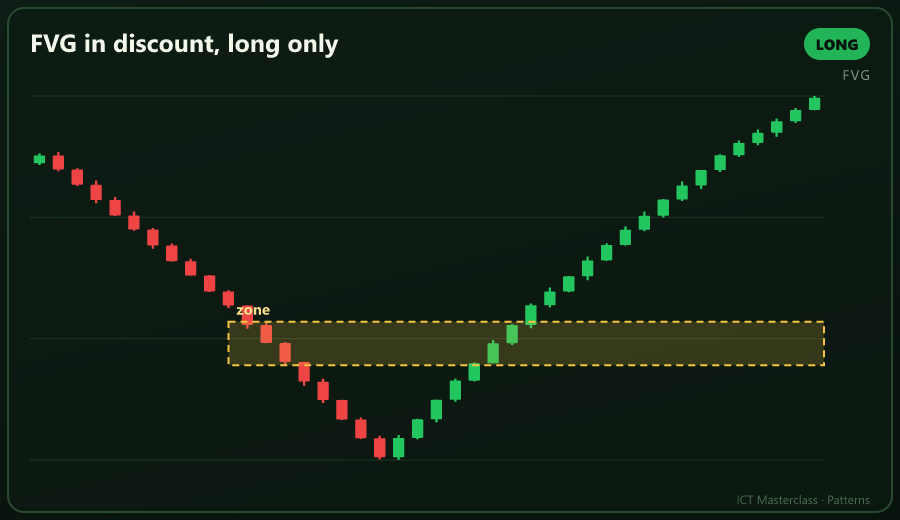
C6 FVG in discount, long only
Shorting a bearish gap in discount gives poor R.
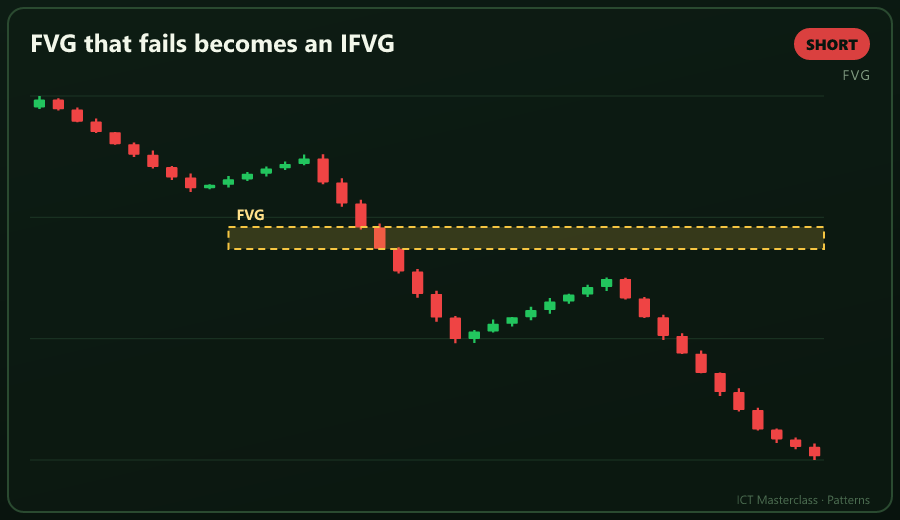
C7 FVG that fails becomes an IFVG
A body close through it flips the zone.
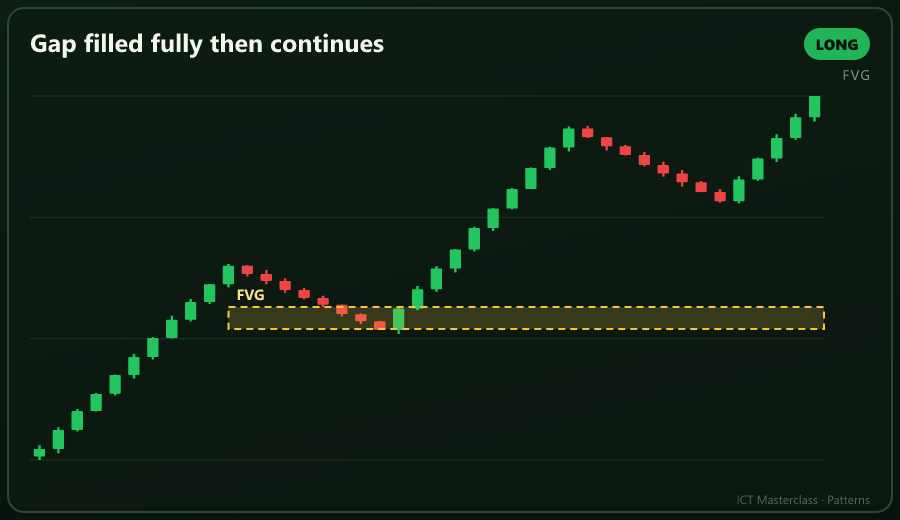
C8 Gap filled fully then continues
A full fill takes everyone stops, then the real leg starts.
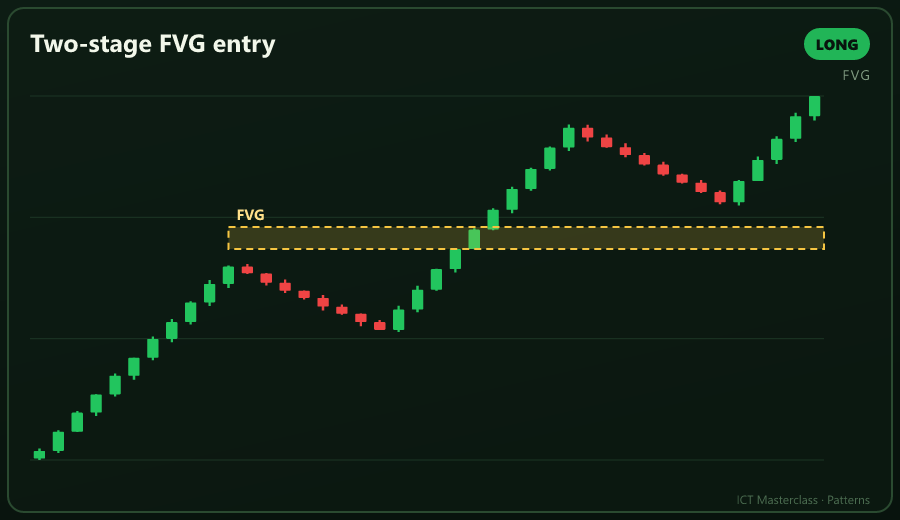
C9 Two-stage FVG entry
Half at the first gap, half at the second for a better average.
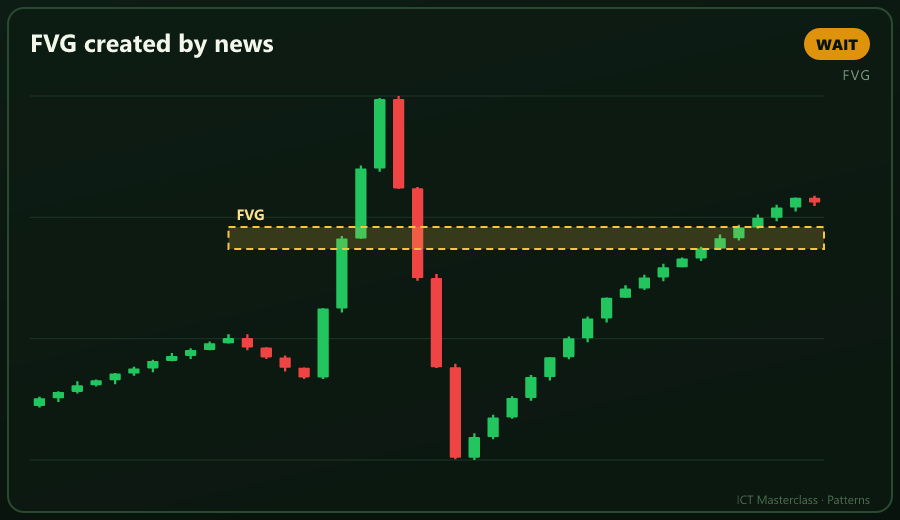
C10 FVG created by news
Spike gaps usually fill; wait five minutes.
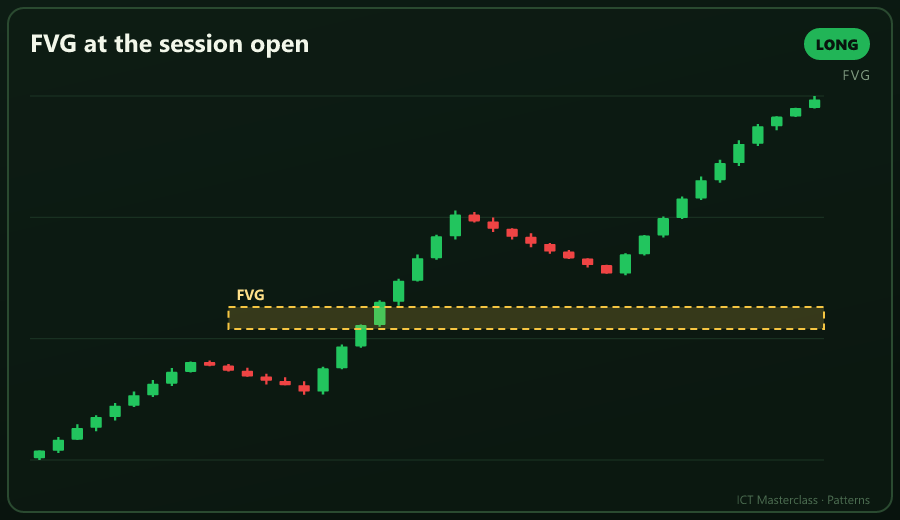
C11 FVG at the session open
The first gap of a session is the strongest one.
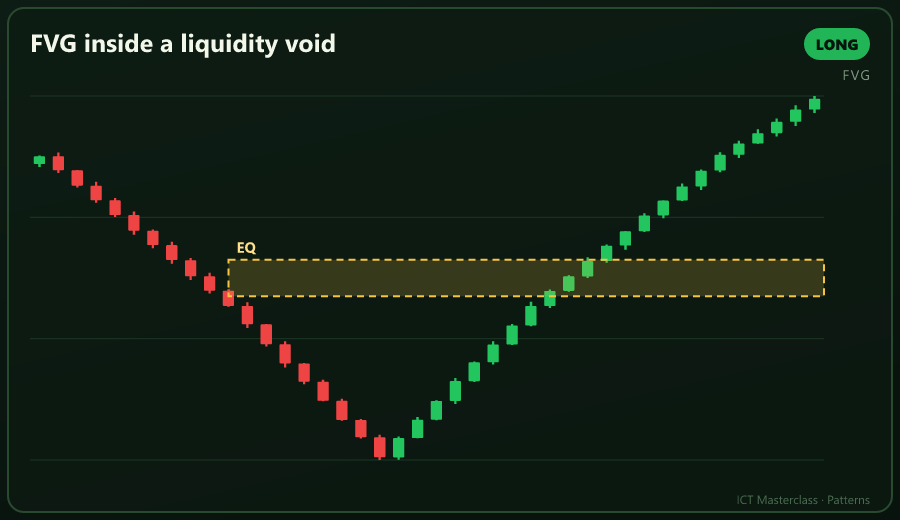
C12 FVG inside a liquidity void
A gap at the edge of a void is very likely to be filled.
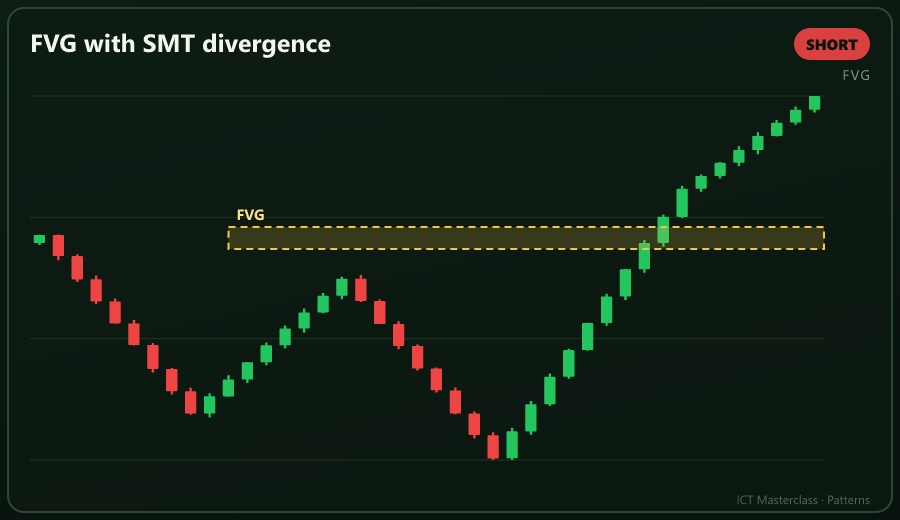
C13 FVG with SMT divergence
The gap gets stronger when the correlated pair fails to confirm.
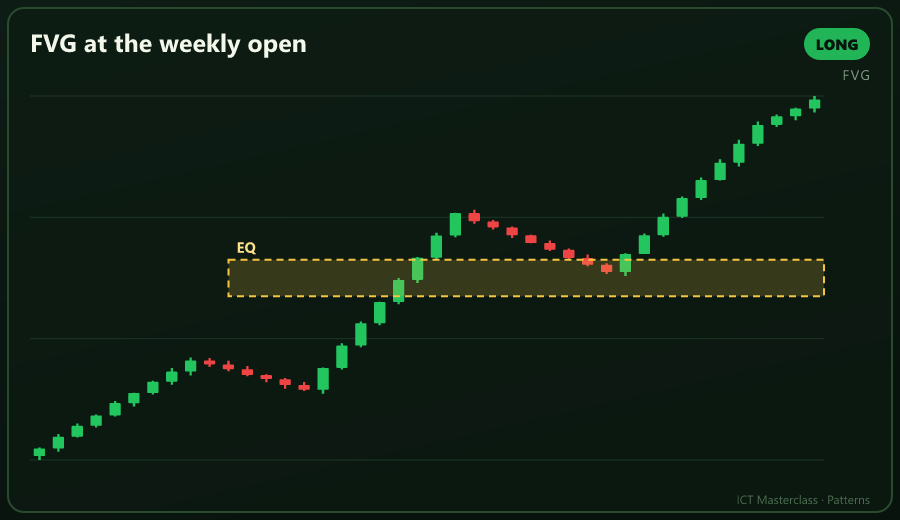
C14 FVG at the weekly open
A gap at the weekly equilibrium is the week main zone.
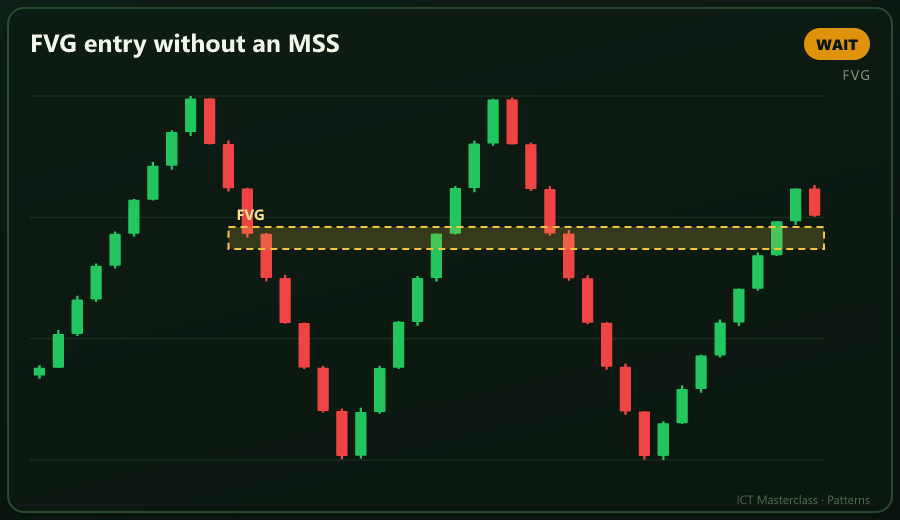
C15 FVG entry without an MSS
Entering on the gap alone means skipping the trigger.
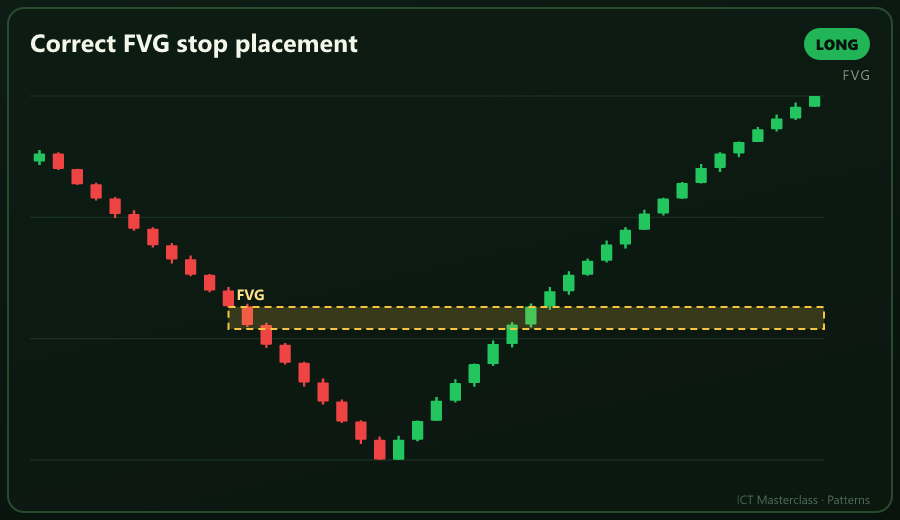
C16 Correct FVG stop placement
The stop goes beyond the gap with at least five pips of buffer.
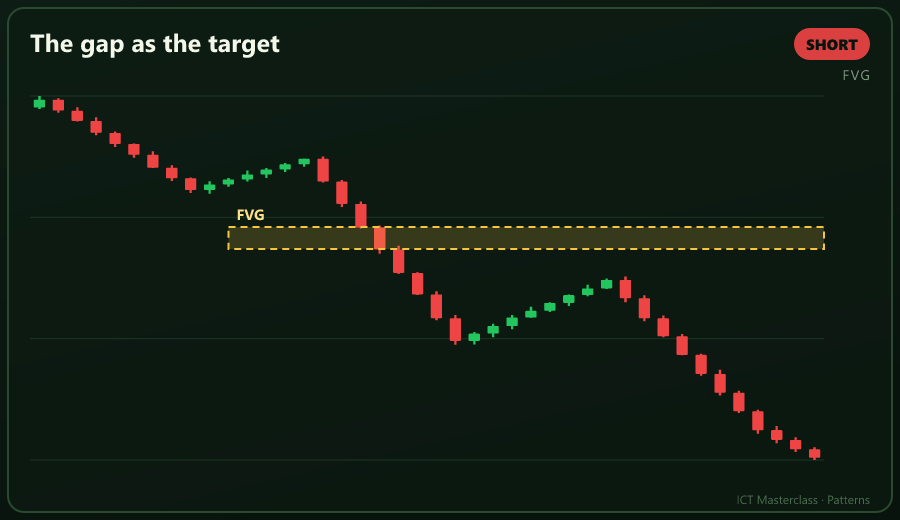
C17 The gap as the target
An untouched gap above is a clean DOL; put TP there.
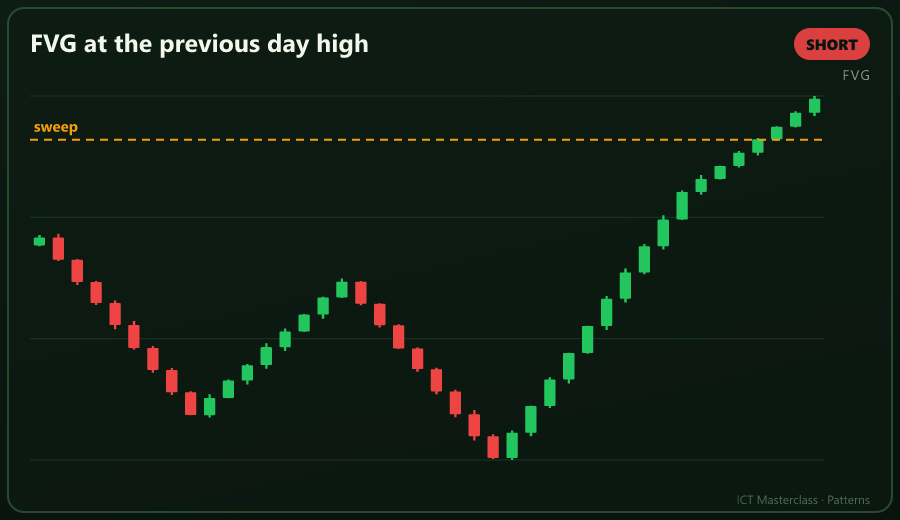
C18 FVG at the previous day high
A gap at the PDH with liquidity is a strong short zone.
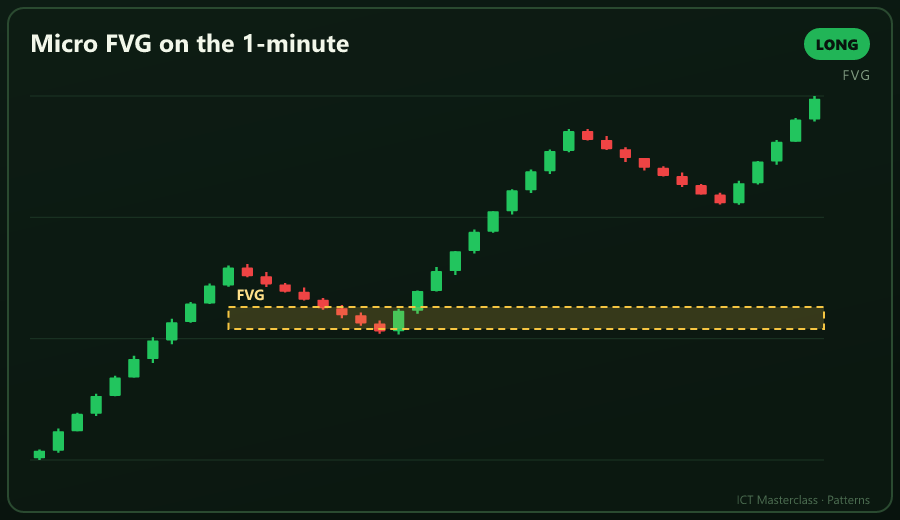
C19 Micro FVG on the 1-minute
Precision entry, but only inside a HTF zone.
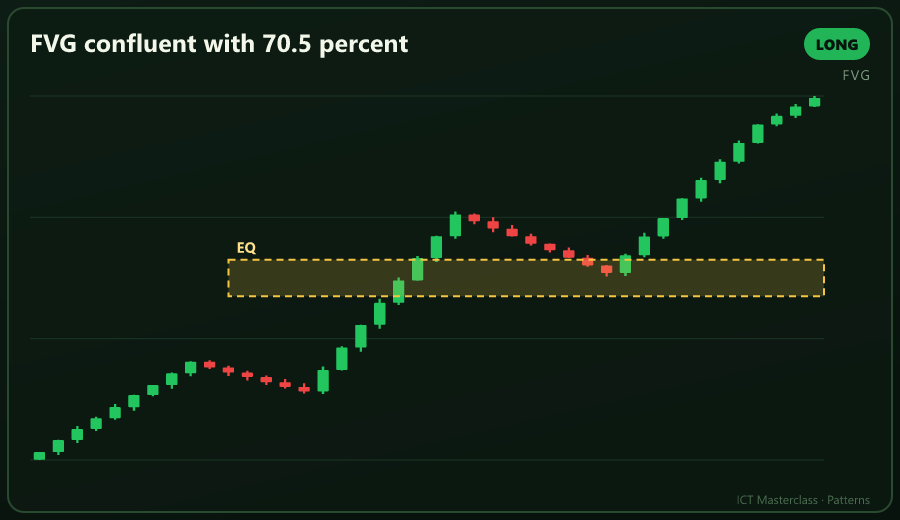
C20 FVG confluent with 70.5 percent
Fibonacci and the gap at one price gives the best R.
| Case | Decision |
|---|---|
Gap in discount with MSS | A+ - full risk |
Gap in premium, wanting long | Skip or flip the side |
Gap alone, no trigger | Wait |
Gap already broken | Treat it as an IFVG |
17.220 Patterns — Order Block Basis
An OB is only as good as four things: displacement, location, the first retest, and whether an FVG sits with it.
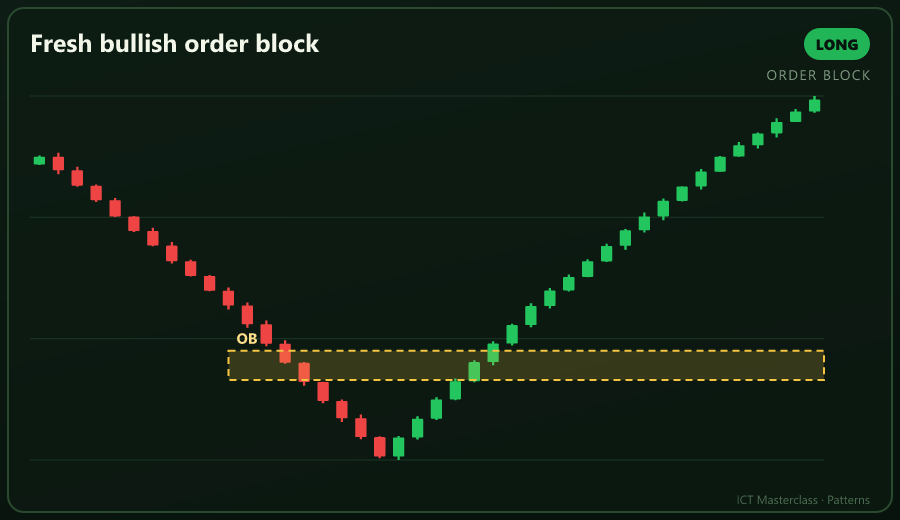
D1 Fresh bullish order block
An OB is strongest at its first retest.
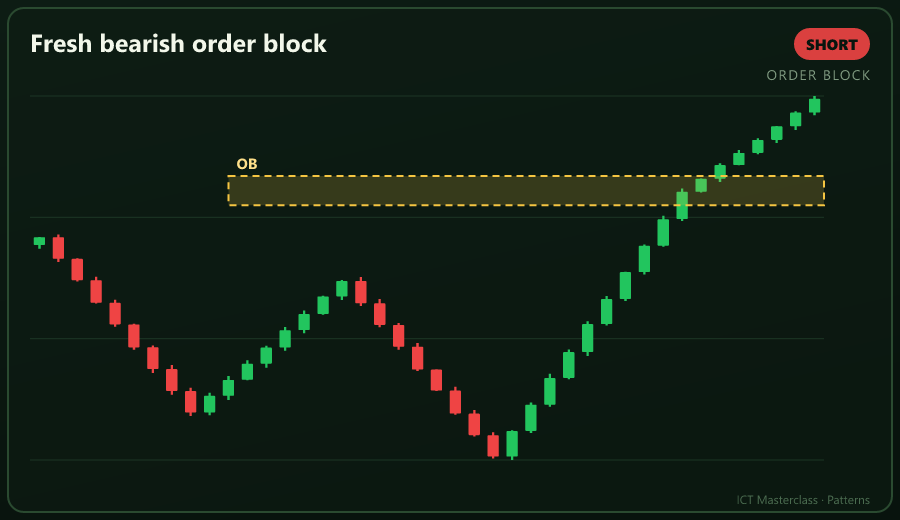
D2 Fresh bearish order block
A premium OB on its first tap is the best short.
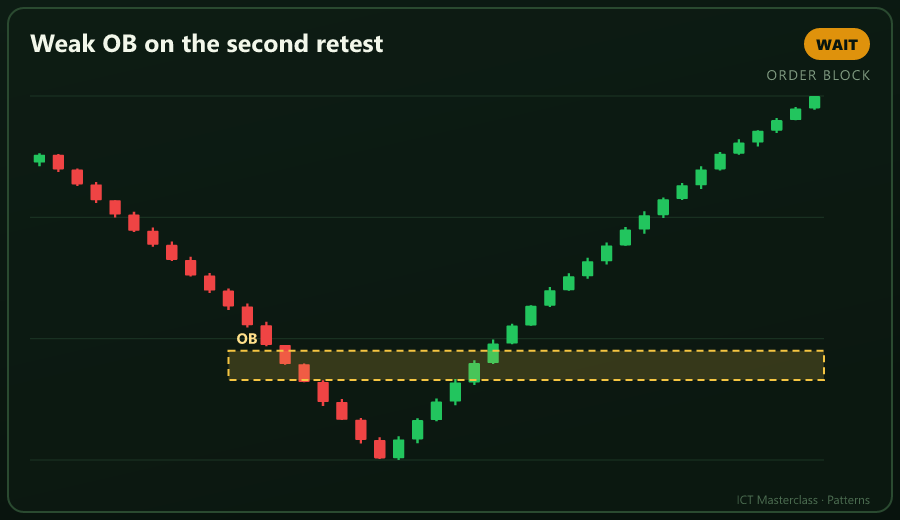
D3 Weak OB on the second retest
Each tap eats the OB; skip the third.
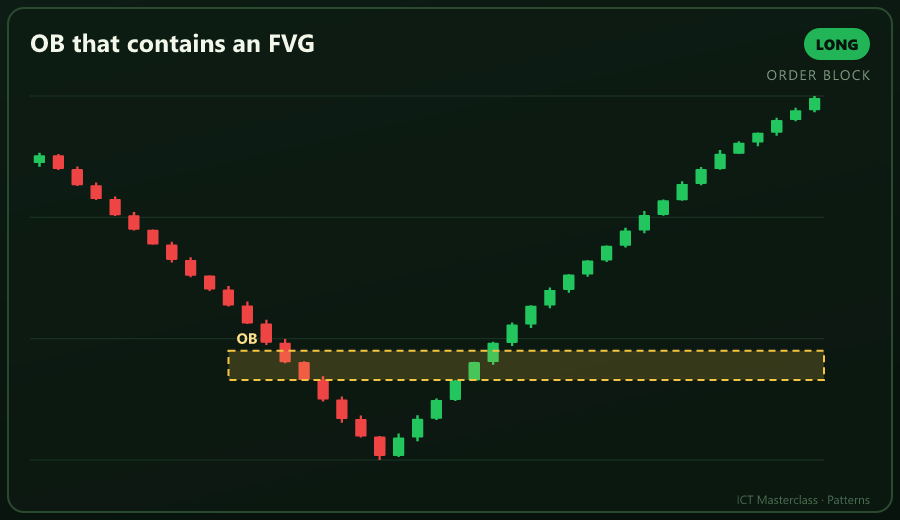
D4 OB that contains an FVG
Two reasons at one price is the most reliable version.
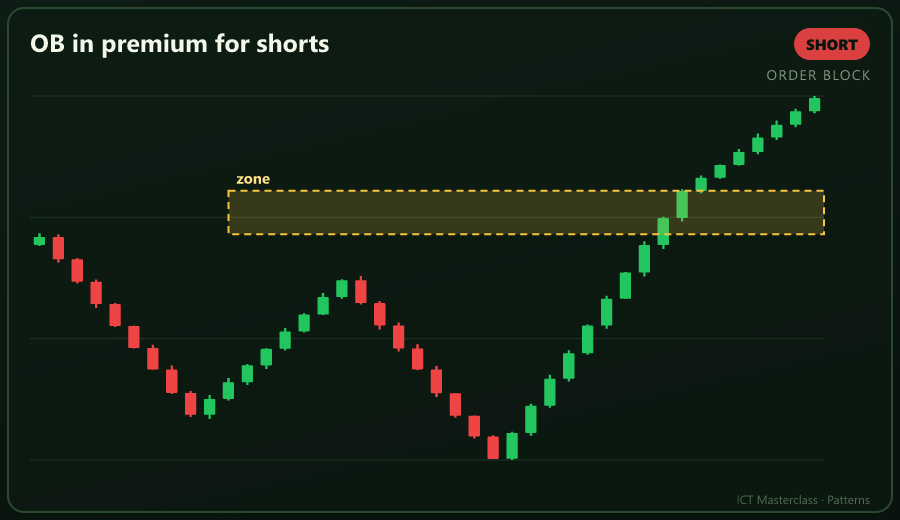
D5 OB in premium for shorts
A bullish OB in premium is a trap; look the other way.
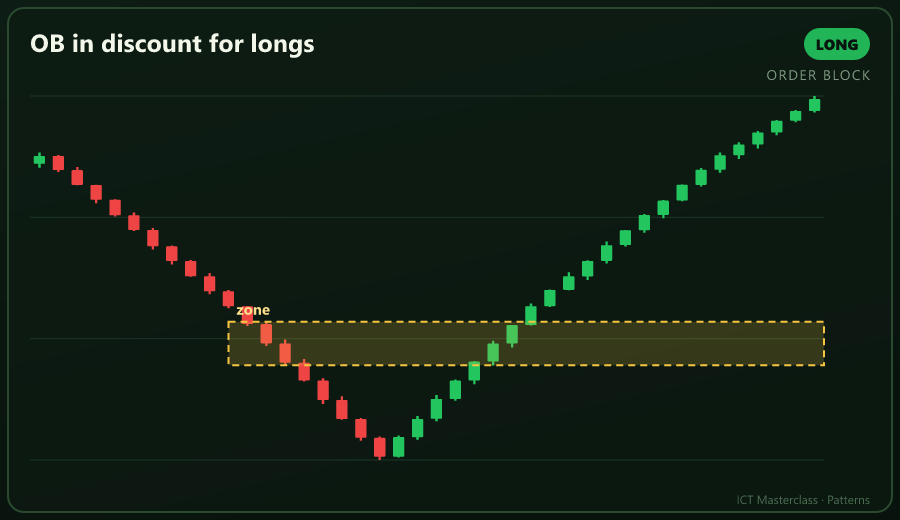
D6 OB in discount for longs
Shorting a bearish OB in discount gives poor R.
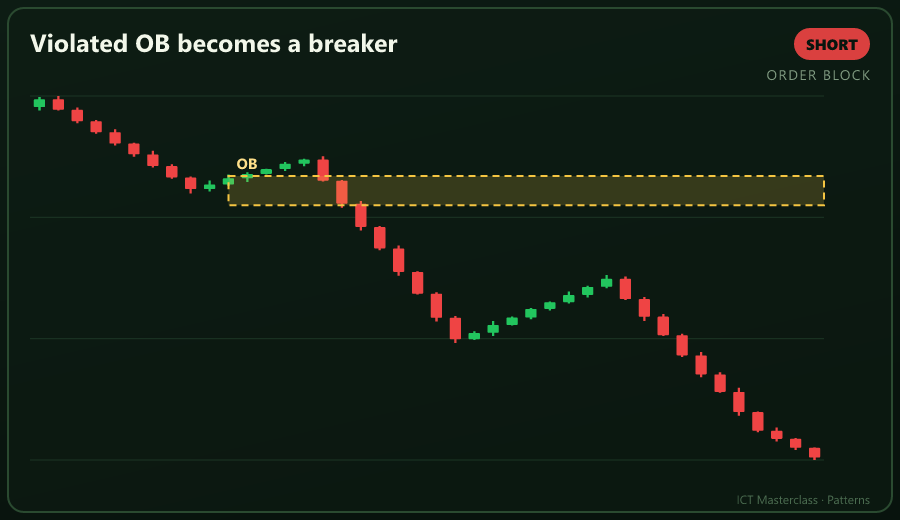
D7 Violated OB becomes a breaker
Once a body closes through it, the OB is resistance.
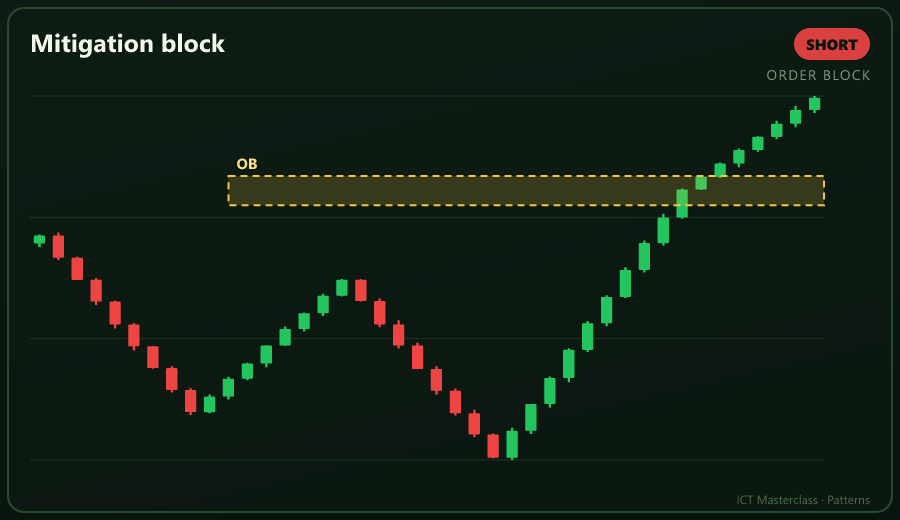
D8 Mitigation block
The exit door for trapped longs is your short.
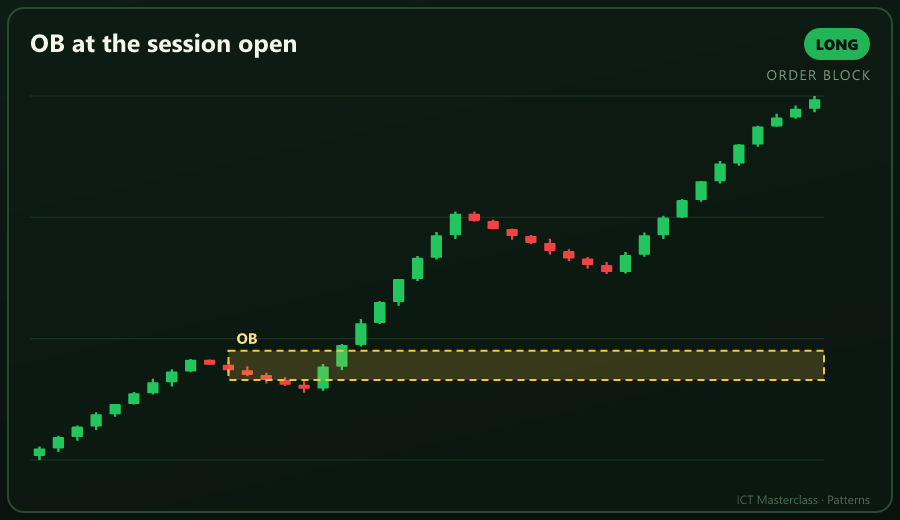
D9 OB at the session open
An OB built at the open holds the most orders.
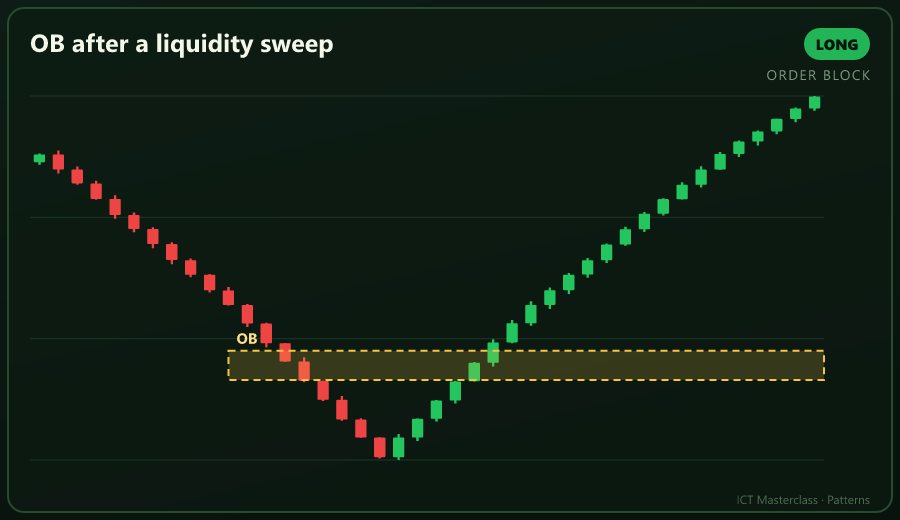
D10 OB after a liquidity sweep
Sweep plus OB is the core of an A+ setup.
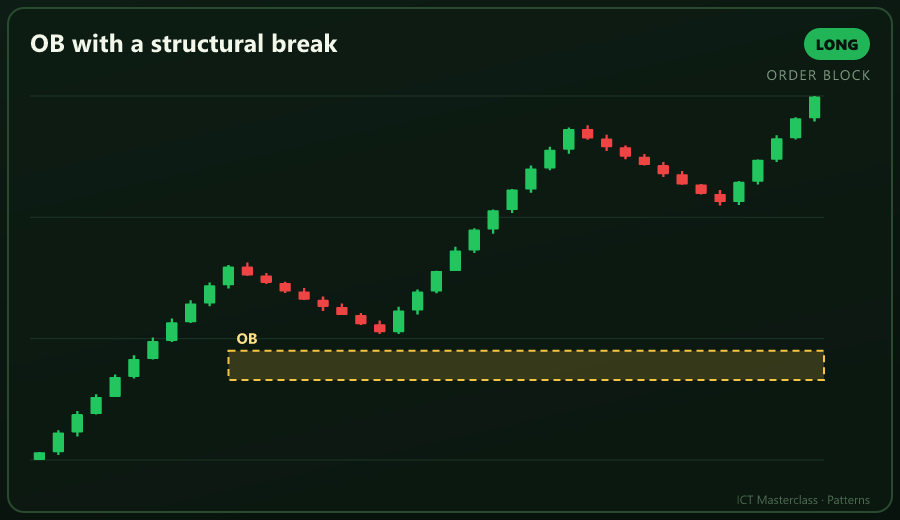
D11 OB with a structural break
Without a BOS the OB is worth half.
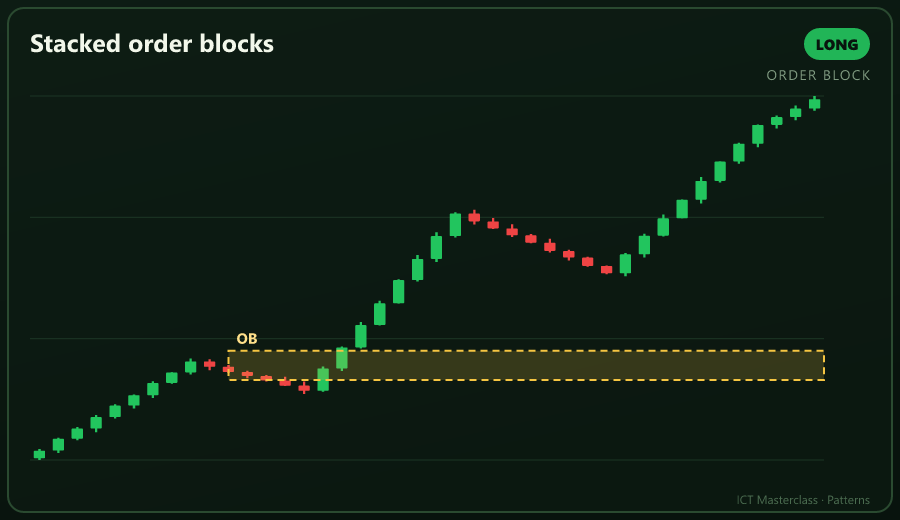
D12 Stacked order blocks
Two OBs make one deep zone; stop below the lower one.
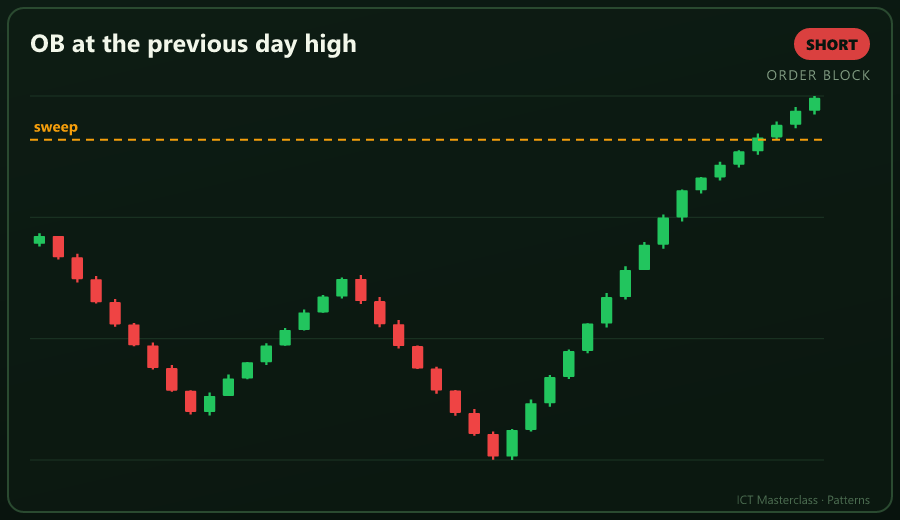
D13 OB at the previous day high
An OB at the previous day extreme is the clearest short.
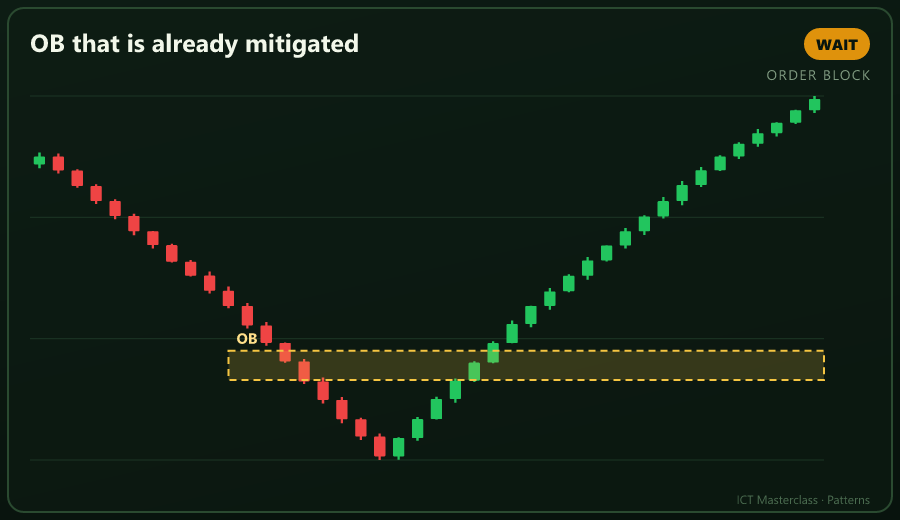
D14 OB that is already mitigated
Price already used the OB; find a new one.
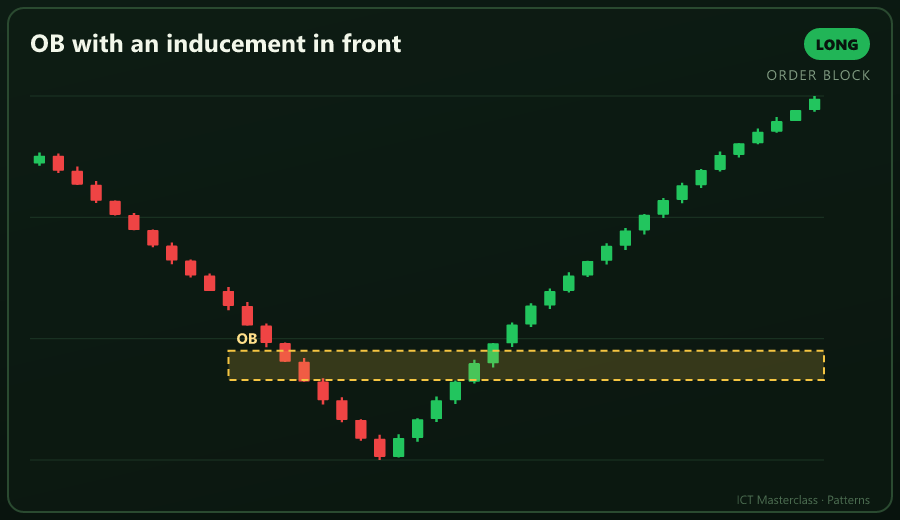
D15 OB with an inducement in front
Wait for the inducement to be swept.
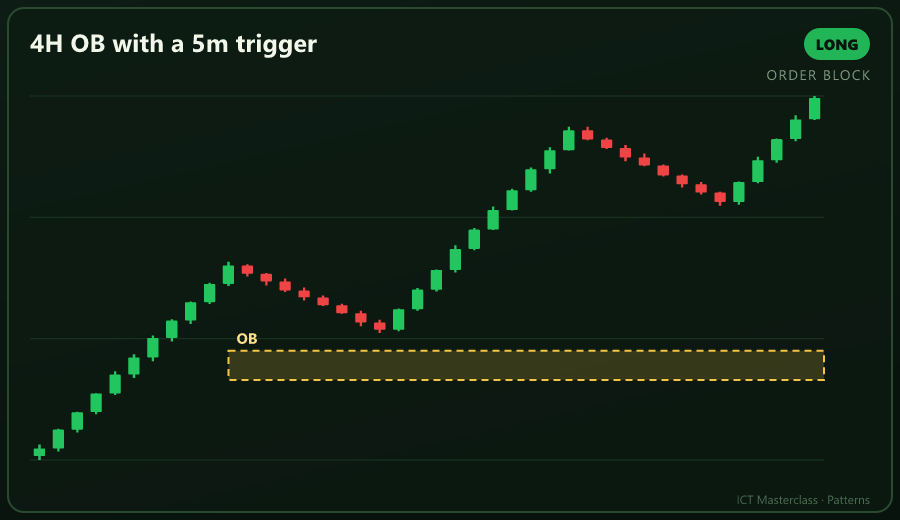
D16 4H OB with a 5m trigger
The HTF gives the place; the LTF gives the trigger.
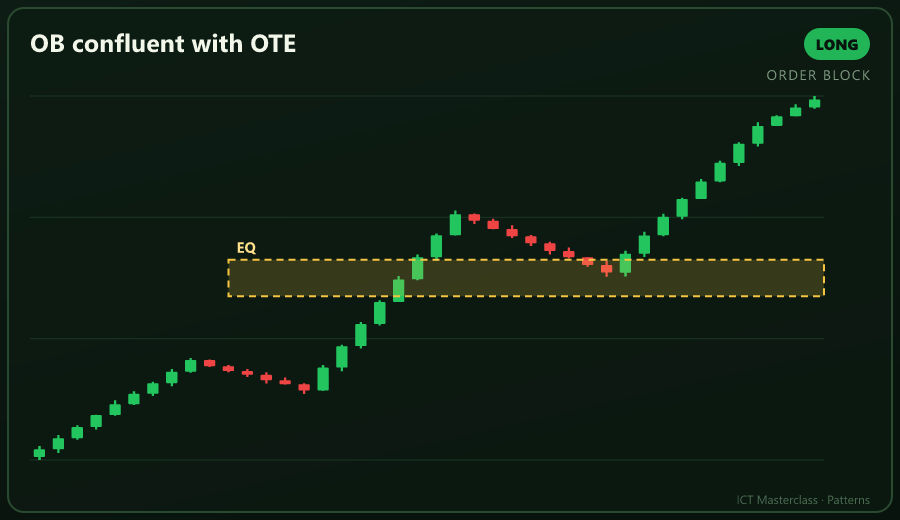
D17 OB confluent with OTE
The best OB is the one sitting in the 62-79 percent pocket.
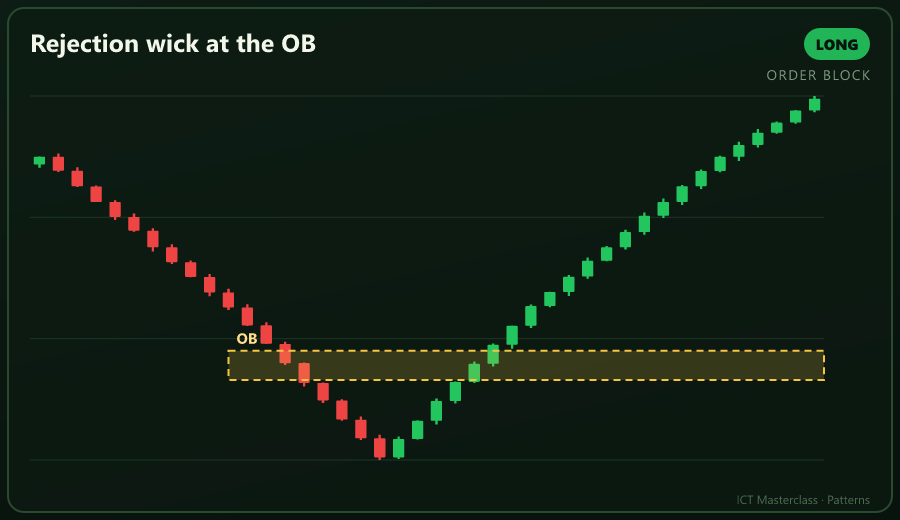
D18 Rejection wick at the OB
A wick rejection at the OB confirms the orders are there.
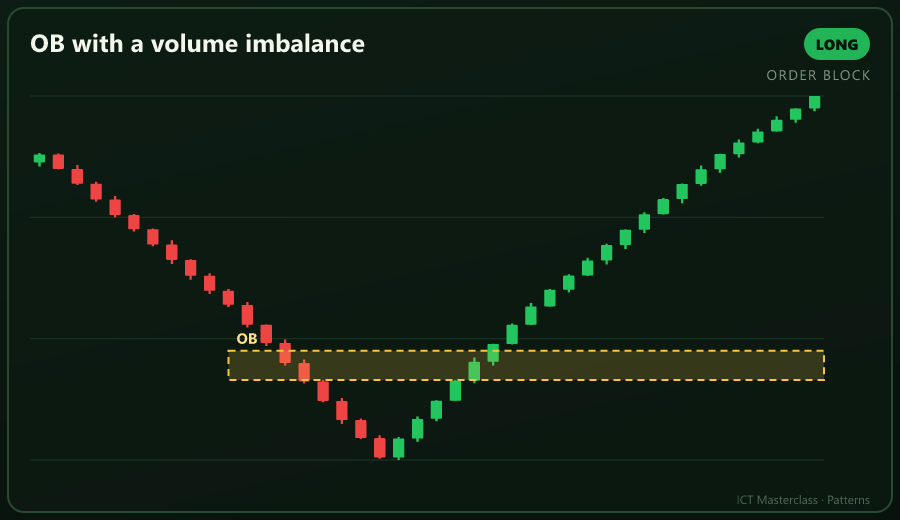
D19 OB with a volume imbalance
A small body gap makes the OB more precise.
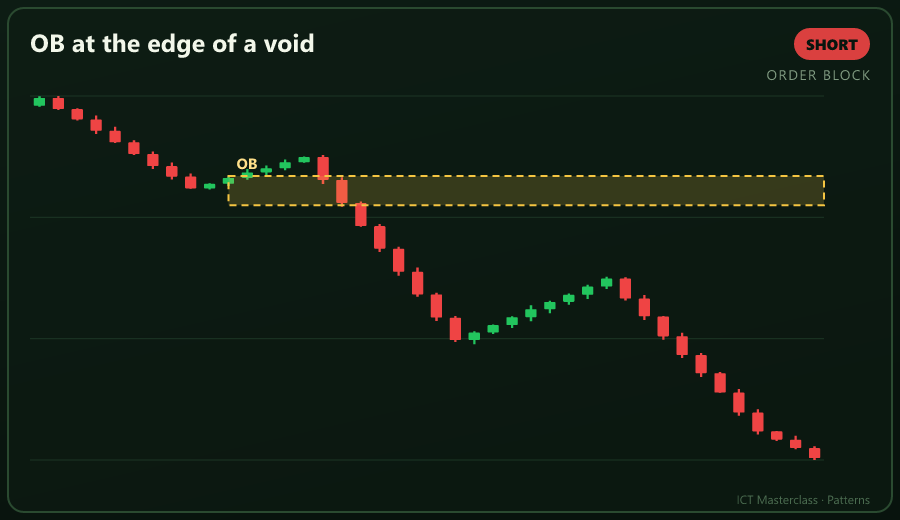
D20 OB at the edge of a void
An OB at the void edge is the best place for the fill to start.
| OB rank | Condition |
|---|---|
A+ | Displacement, FVG, discount, killzone |
A | Displacement and the correct half |
B | OB only, first tap |
X | Broken or twice-tested OB |
Educational material only · not financial advice.